Install OPNBI in Docker
The documentation contains the steps to install OPNBI in Docker desktop. The tutorial contains command and example screens with it.
Objective
- Objective of this document is to guide the user in the installation process of OPNBI in a Docker desktop.
Download and setup docker desktop
Download Docker desktop from official docker website
Download and install the Linux kernel update package
Run docker desktop setup file, follow the instruction and install docker desktop
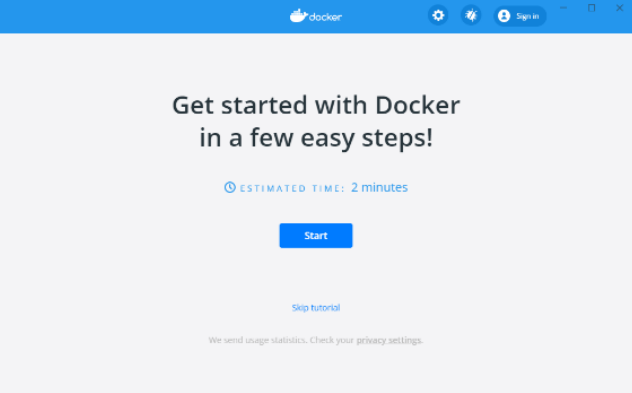
After installation you will see home screen of docker as below image,
Pull & Run ubuntu image in docker
Open powershell window to command docker
Pull ubuntu image in docker by executing below command from powershell window,
docker pull ubuntu

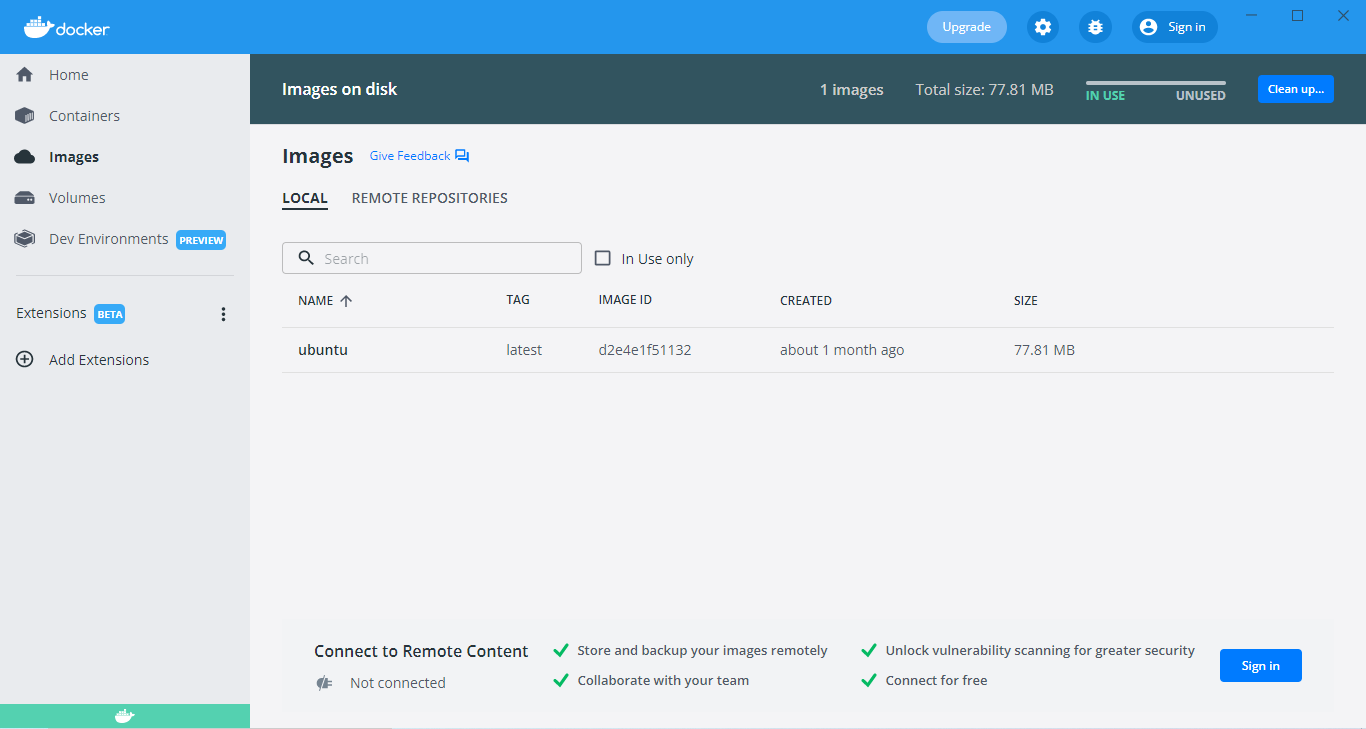
You can see image is installed in docker desktop screen as below image,
You can run this image by executing this command :
docker run -it -p 7070:8080 ubuntu
here bind container's TCP port 8080 to host's port 7070 and
ubuntuis name of image file we have downloaded
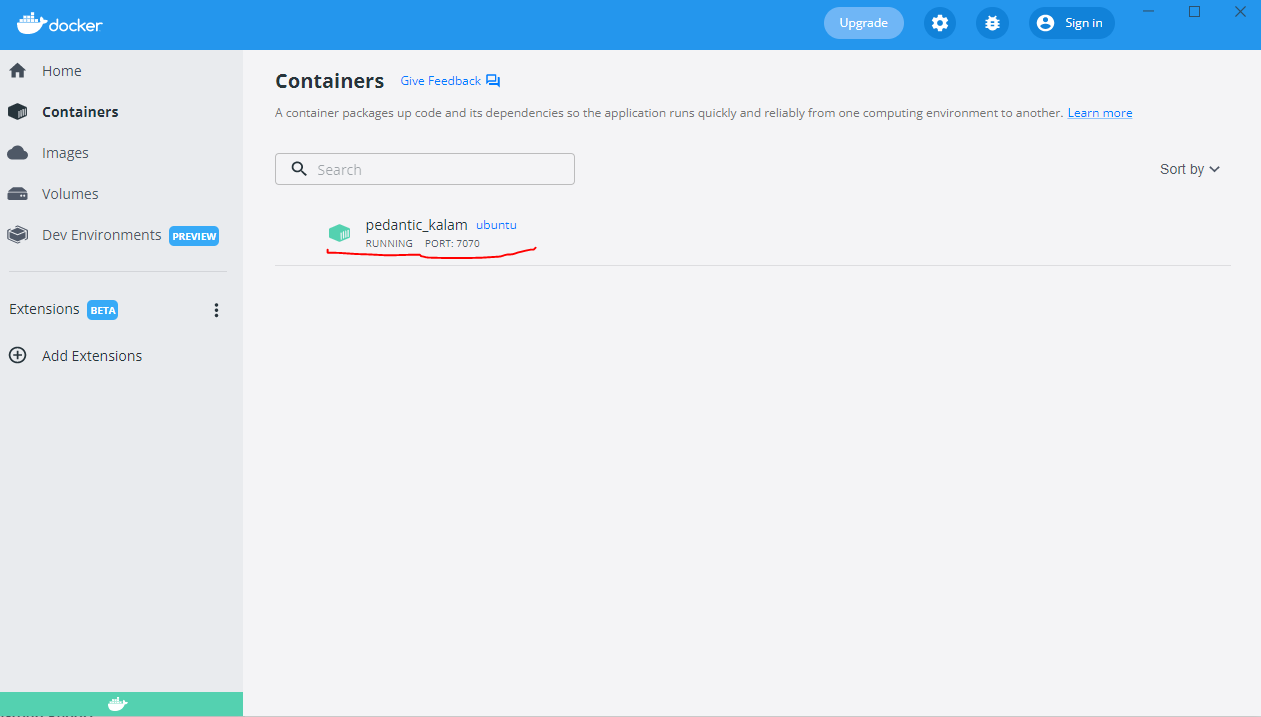
Now ubuntu image is running in docker
Install OPNBI in docker container
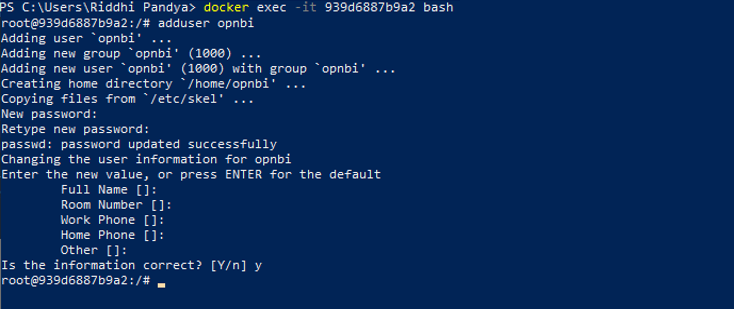
Create a new user opnbi from root user
Switch to user we have just created by executing this command :
su opnbi. here opnbi is user name.Execute this command to create new directory in opt folder :
mkdir opt/opnbi
warning
If you face error like shown in below image, user opnbi do not have access to create directory in opt folder.

In such case go to root user again by executing exit command and execute this command to provide write access of opt folder: chmod -R 777 /opt
After executing above command, again swtich to opnbi user (Use this command : su opnbi) and try to create directory in opt folder. this time it will work.
Go to opt directory to check folder created or not. use this command :
cd optto navigate on opt directory and executelsto check files in opt folder.You will see opnbi folder is created in opt folder.
Download latest linux installer from opnbi website. Click here to download setup file
Copy this file in to
opt/opnbifolder of docker instance. Open a new powershell window and use below command to do this,
docker cp "your_directory/opnbi-linux.run" docker_container_id:/opt/opnbi
- In above command, provide opnbi installer path from local directory and docker container ID in which we need to copy this file.
info
If you want to find docker container id, open new powershell window and execute this command : docker ps and it will give you the list of container image running in docker. copy the container url for ubuntu and use this in copy command.
- Once command exeuted without any error, check in opt/opnbi folder of opnbi user. you will find setup file there.
Use
lscommand to see folder content
Execute this setup file using this command from opt/opnbi folder:
./opnbi-linux.run. setup will started. press enter to read license agreement.Press y to accept license agreement and hit enter
In the next step, enter Y is this is new opnbi installation and hit enter. in the next step type N and hit enter. at the end it will ask you to confirm selection, press Y and hit enter.

Provide installation directory and application name for installation. leave empty and hit enter in order to keep it default selection.
Select Y in the next step which ask to delete content in installation directory and hit enter
Select option 2 and hit enter to install from local files. in the next step select install with postgres database and hit enter

In next step it will check connection with database and show result as connection sucessful in logs. Press enter and provide confirmation to continue with installation
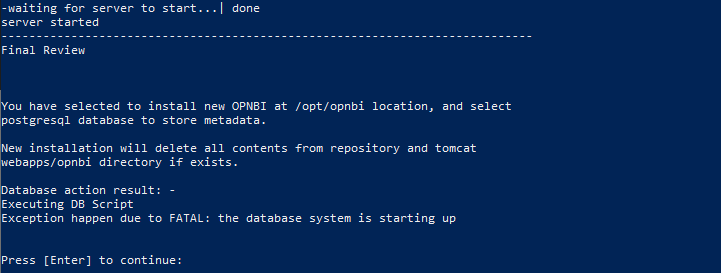
Wait till installation finished. you will see setup has finished message once installation finishes.
Execute ls to check folder content.
Start database server first, you will see start_db.sh file in opnbi folder. execute this file with this command
./start_db.sh
info
If you find error like pg_ctl: could not start server then first run stop_db.sh file first and then run start_db.sh file
Once database server is started, run start_opnbi.sh file by this command :
./start_opnbi.sh
To know server started or not run this command :
cat tomcat/logs/catalina.outand tomcat logs will be printed in console.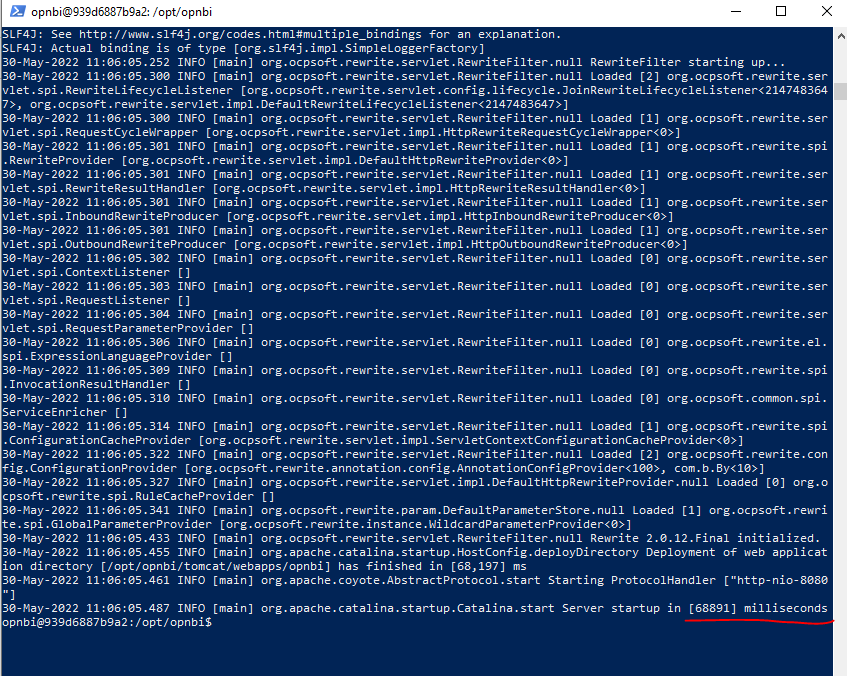
You will see Server startup in [-----] miliseconds at the end of the logs. this means tomcat server has started.
Try to open OPNBI in browser, enter url
localhost:7070/opnbiin browser OPNBI login page will be displayed.
- here 7070 is port number we have exposed in step no 8.
- Login with user name and password, by default user name : Admin and password: password you will be redirected to license page.
- Please follow this document to request and update license from step number 4 after logged in to OPNBI.