Install OPNBI in Linux
The documentation contains the steps to install OPNBI in linux OS. The tutorial contains command and example screens with it.
Objective
- Objective of this document is to guide the user in the installation process of OPNBI on a Linux machine.
Hardware requirements
- Operating System - Windows, Linux, Unix, Mac
- RAM- Minimum 8 GB (16+ GB Recommended)
- Disk Space - 15 GB of free disk space (additional space is required for repository and log folder)
Software Requirements
- Java - 8
- Metadata Database - MySQL 5.5+, Oracle 11+, PostGreSql 9.1+
- Browsers - Firefox 25+, Chrome 30+, Safari 9.0+, MS Edge
- Application Server - Apache Tomcat 8.x
Note
- Make sure that Software & Hardware requirement matches for running OPNBI error-free.
Setup OPNBI in Linux
Open Terminal window from linux machine
Here default user is root. User might have non-root user in his machine. For demonstration purpose we are adding a non root user to install OPNBI.
info
If user already has non-root user, skip this and step no 3, continue with step no 4.
Write
adduser opnbicommand to add user named opnbi,info
user can provide any user name here
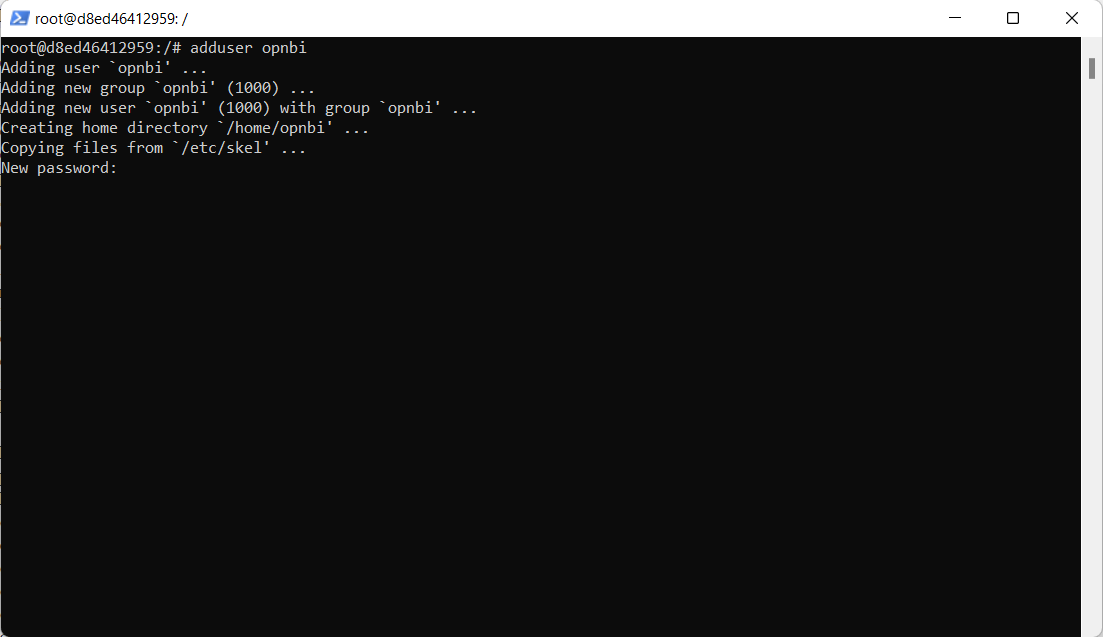
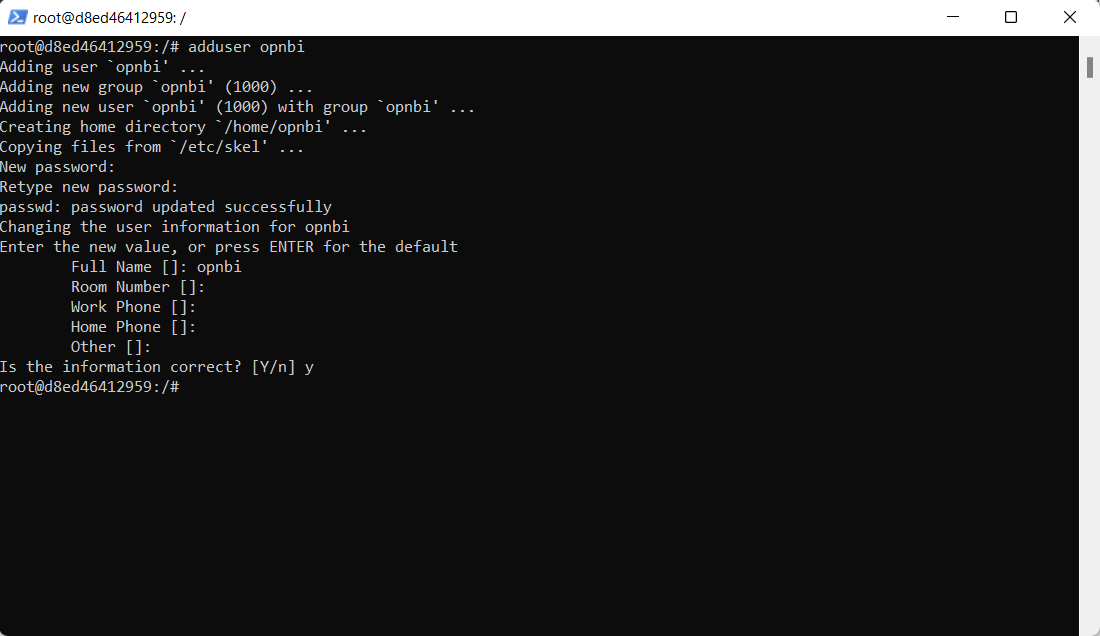
Once add user command executed, it will ask you to Create password for that user. provide password and hit enter
Enter
apt updateit updates the package lists that need upgrading, as well as add new packages that have just come to the repositories
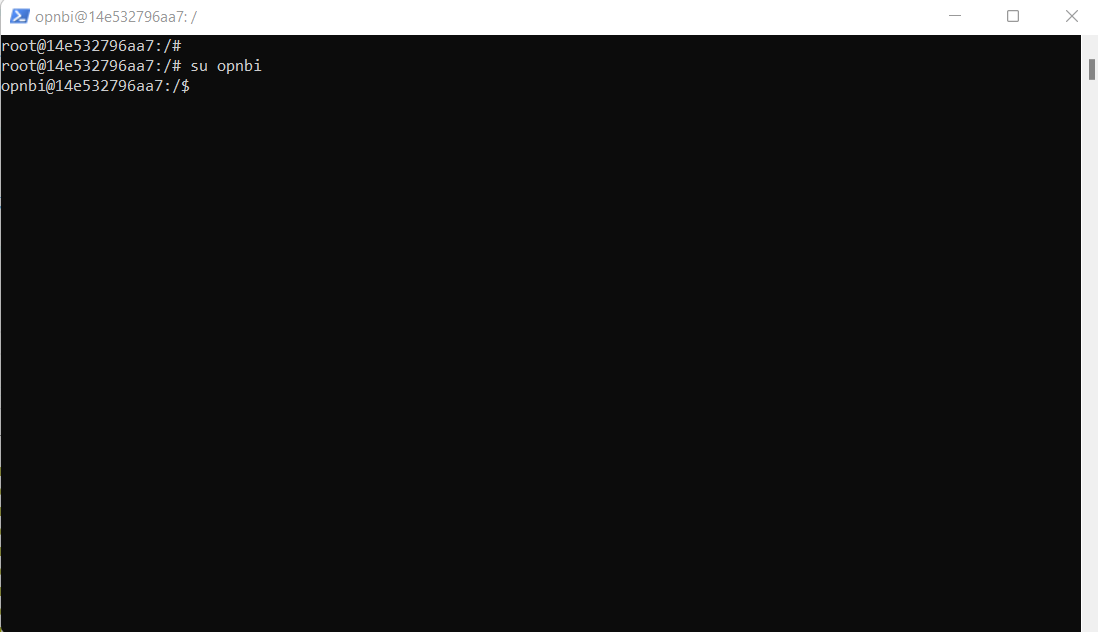
Change to user created in step 2. type
su opnbiand hit enter.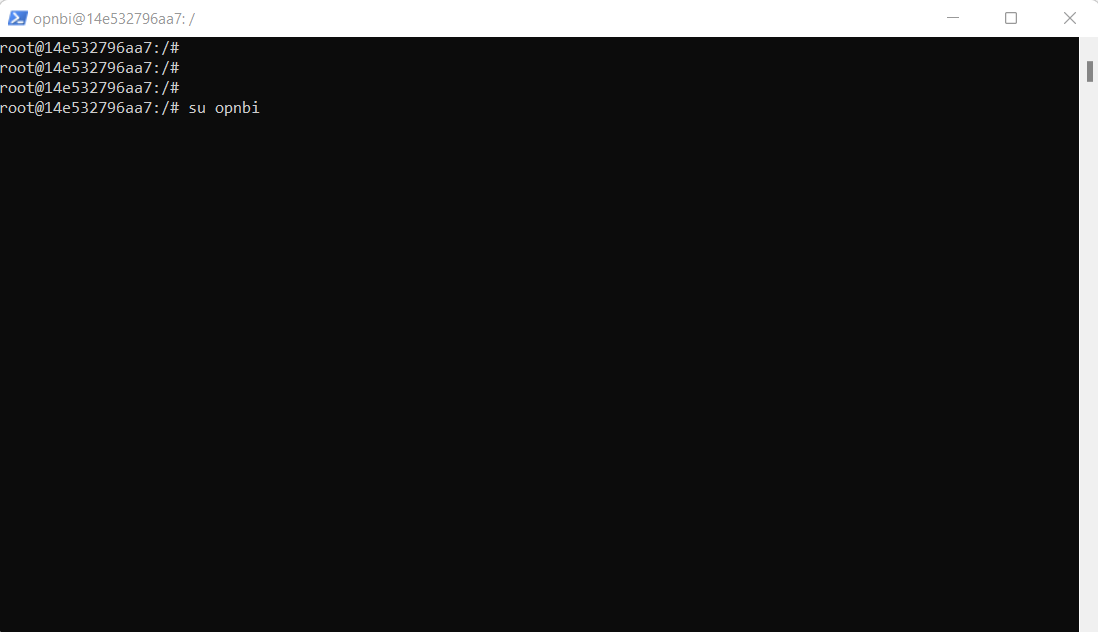
User is now changed to opnbi as you can see in below screen shot,
Change path to opt, write command
cd /optand hit enter.Create a new directory to install opnbi. write command
sudo mkdir opnbiand hit enter. it will ask for password to create directory. provide password and hit enter.info
If you got an error like
cannot create directory, go to root user and provide write access to opt folder to opnbi user. Execute this command from root user:chmod -R 777 /opt. now go to opnbi user and create folder in opt folder.In order to check if directory is created in opnbi user, write command
lsand hit enter. it will show folder named opnbi created
change folder path by executing
cd opnbiand Download OPNBI setup file from download link using wget command insideopnbifolder. execute this command to download OPNBIwget https://dist.aivhub.com/opnbi-linux-x64.runor download latest linux installer from opnbi website. Click here to download setup file in case above link is not working.
info
if you got error for wget, execute this command to install wget libary apt-get install wget and try to download setup file again
- Go to directory where setup file is available and run OPNBI setup file by writing command
./opnbi-linux-x64.run
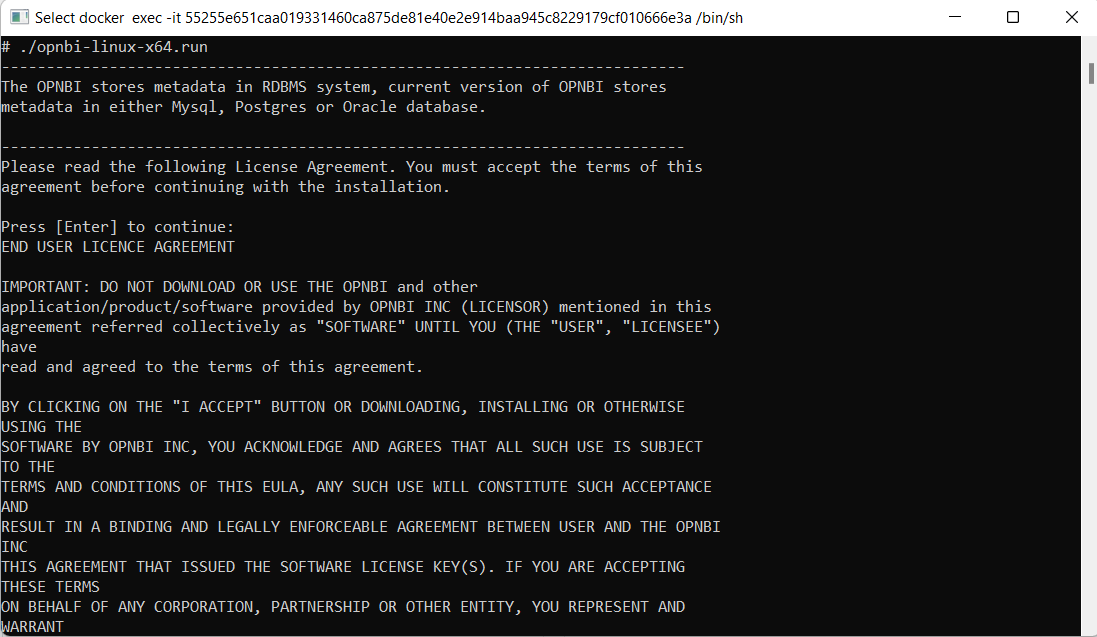
- Hit enter to review license aggrement. once you hit enter, setup will be started
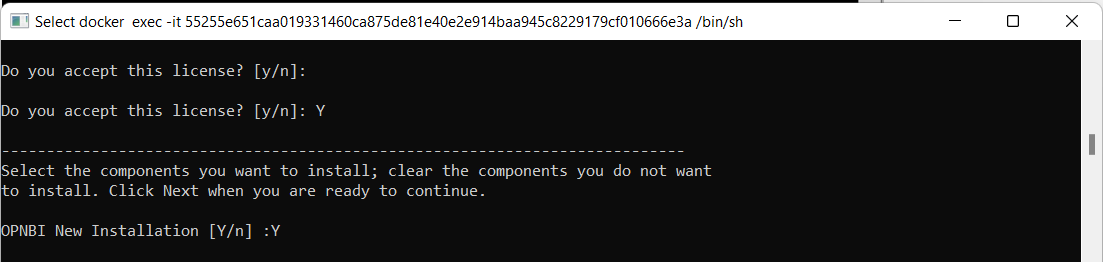
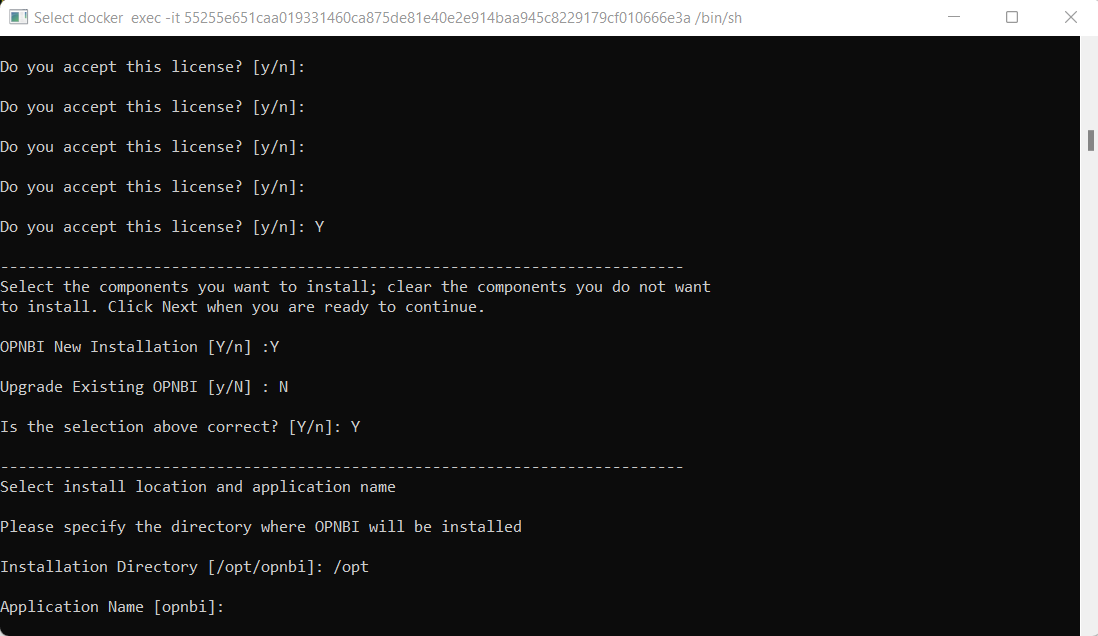
- Keep pressing Enter to read license agreement until it ask to accept license condition as shown below,
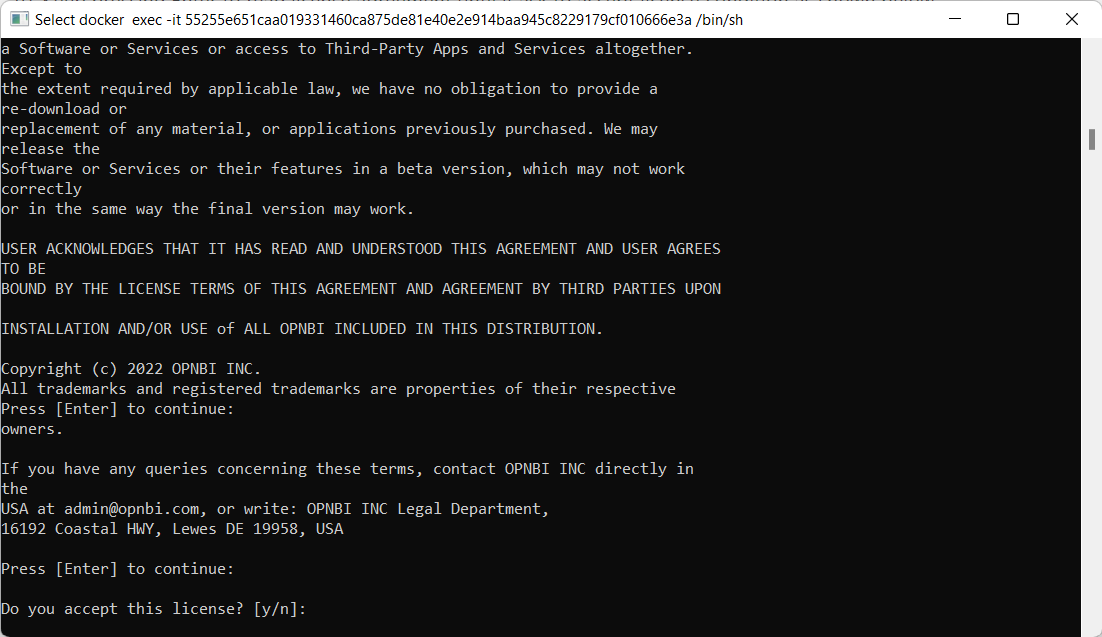
- Type Y and press enter to accept license conditions.

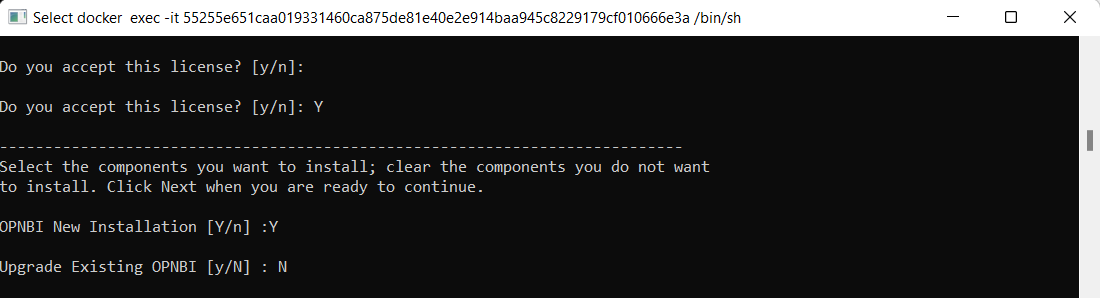
- When you click enter, next it will ask if this is new installation. Type Y and hit enter.
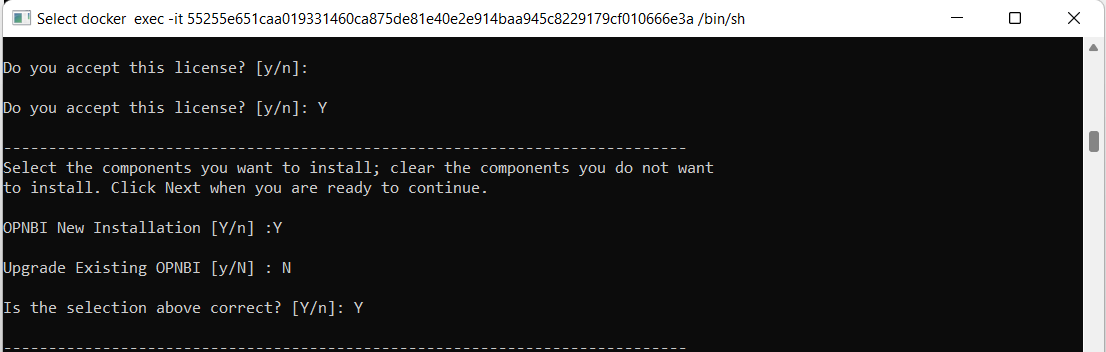
- Next it will ask upgrade existing opnbi, type N and hit enter
- After hitting enter, it will ask you if above selection is correct or not. Type Y and click enter.
- Give Path where you want to install application. here we want to install in
optfolder so give path up tooptfolder and hit enter
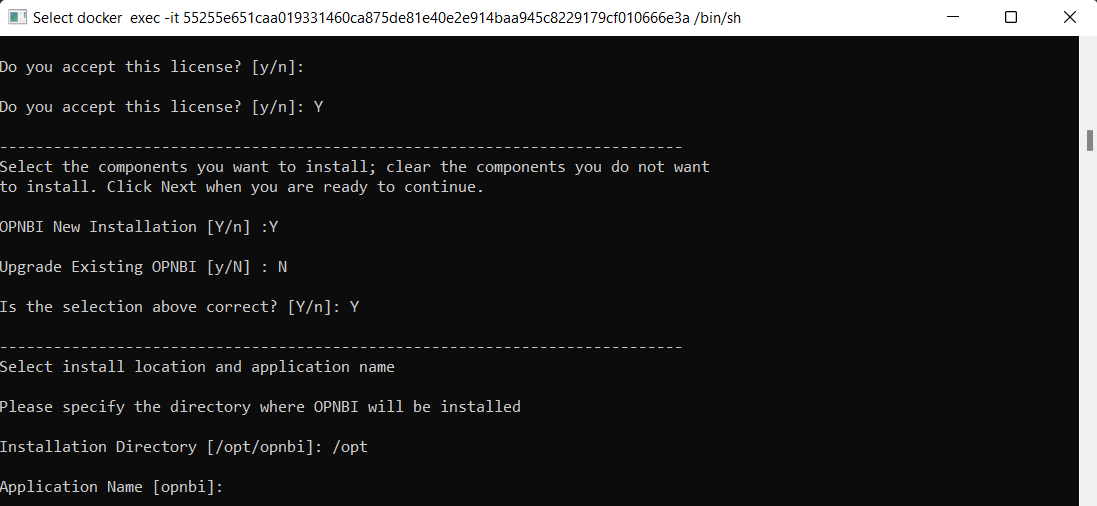
- In application name, keep it opnbi and hit enter.
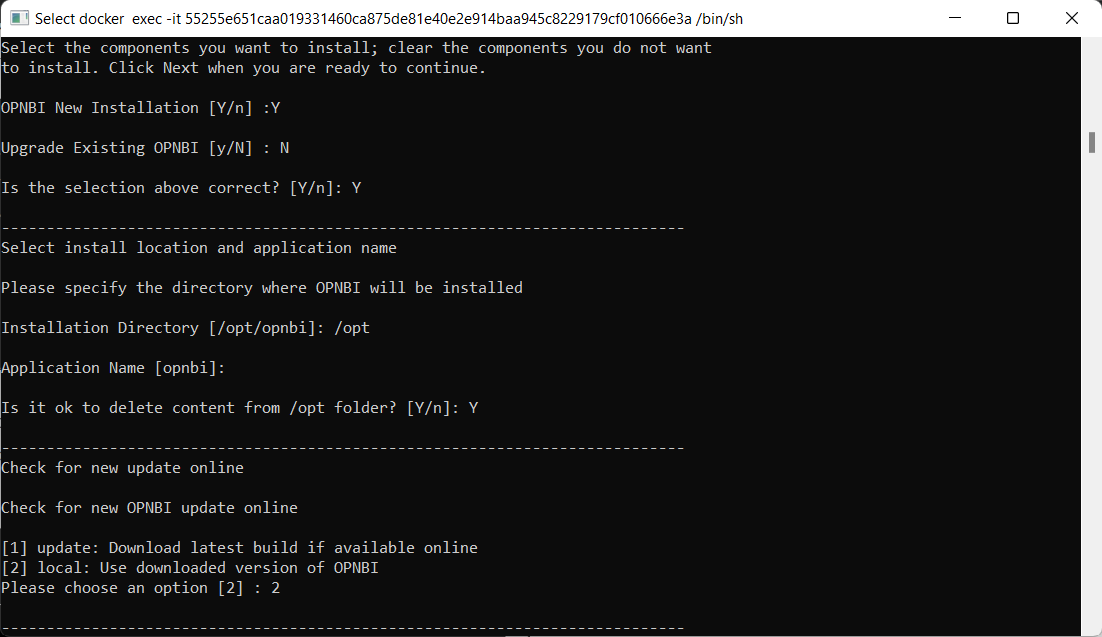
- Installation has started and it will ask for confirmation to continue to installation. Type Y and press enter, You can see 2 options,press 1 if you want to download latest build from online website and press 2 if you want to use downloaded version and press enter.
info
If the user selects update option setup will check if any newer version is available on the server or not. If yes, It will fetch a new build from the server and then install OPNBI with an updated build.
If the user select local option, setup will use files available with setup to install OPNBI.
Select the preferred option & hit enter
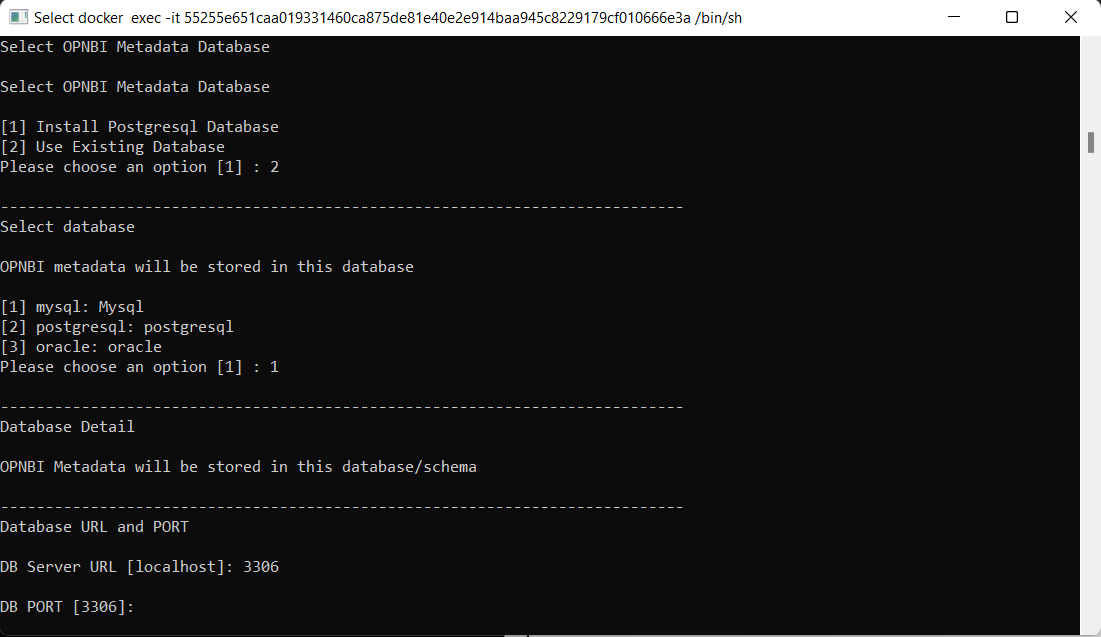
- You can see 2 options,press 1 if you want to install Postgresql database and press 2 if you want to use use existing database and press enter. This database is selected to store metadata of OPNBI
info
Users can select Use existing Database if they already have a database in their system
info
Type 1 of installation is preferred when there is no database installed on the Linux machine or server. OPNBI setup comes with a default database i.e. PostgreSQL setup files. if the user does not have any database on his machine, he can install OPNBI without setting up a separate database on the Linux machine. The user just needs to run the OPNBI setup and select the PostgreSQL option during the metadata selection step. That's it, OPNBI will be configured with PostgreSQL. no need to download any database to store metadata of OPNBI before running this setup.
warning
If you find any error while setting up OPNBI with 1st option that is PostgreSQL, kindly go back, run setup again and select Option 2 (Use Existing Database option) for installation. Before selecting this option make sure you have database (MySQL or PostgreSQL or Oracle) installed in your machine and you have valid credential to connect with the database.
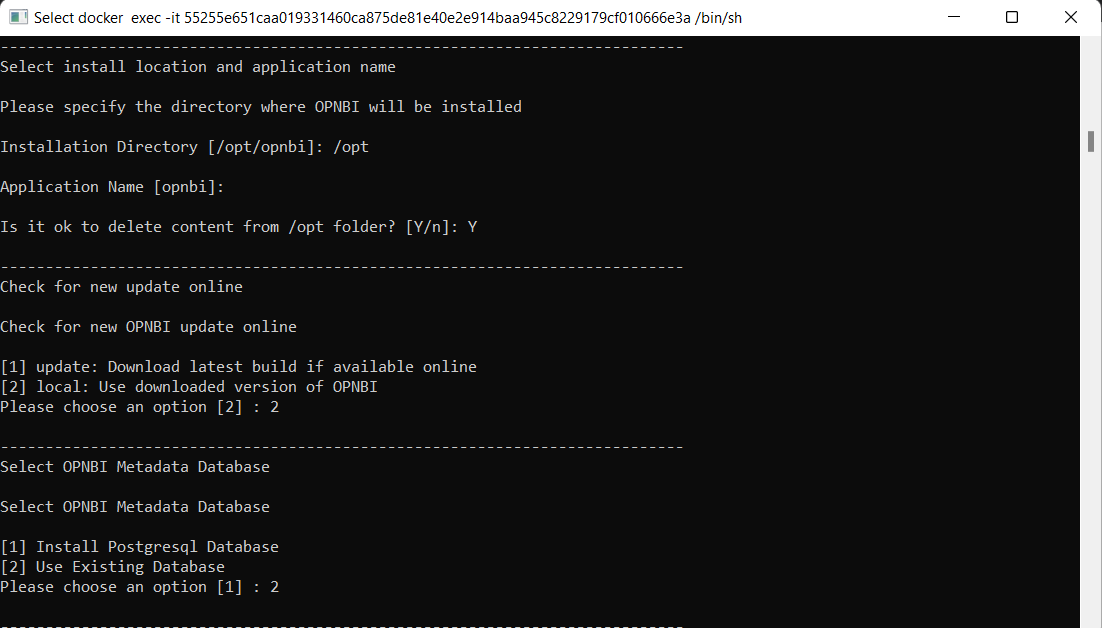
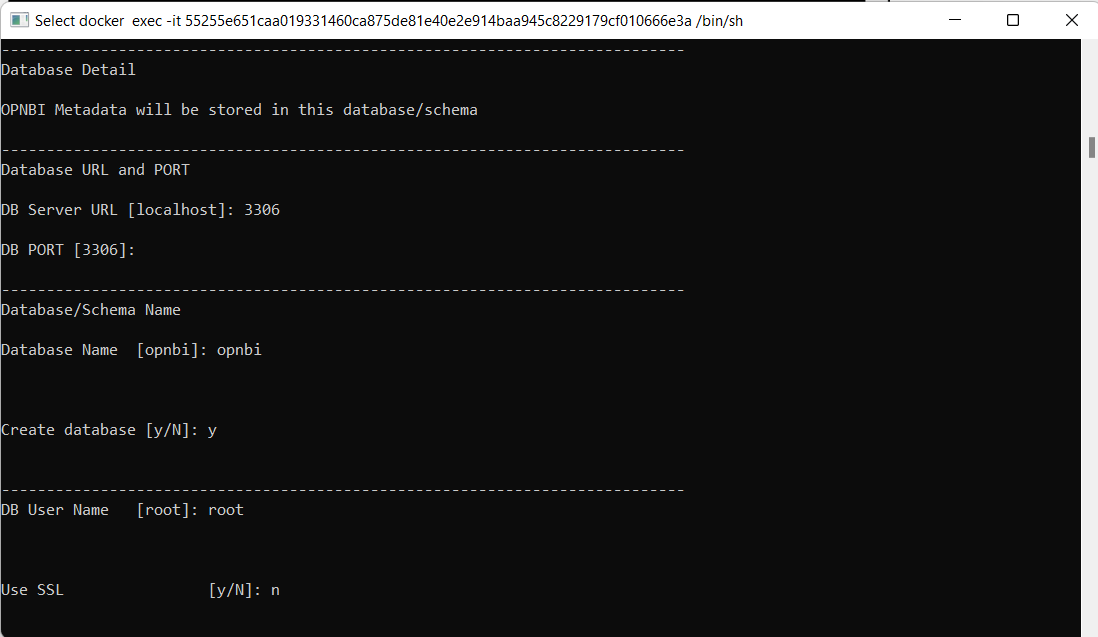
- Here we have MySQL database installed so select the database from the list. You will see 3 database option here : 1 for mysql, 2 for postgresql and 3 for Oracle. select option 1 and hit enter
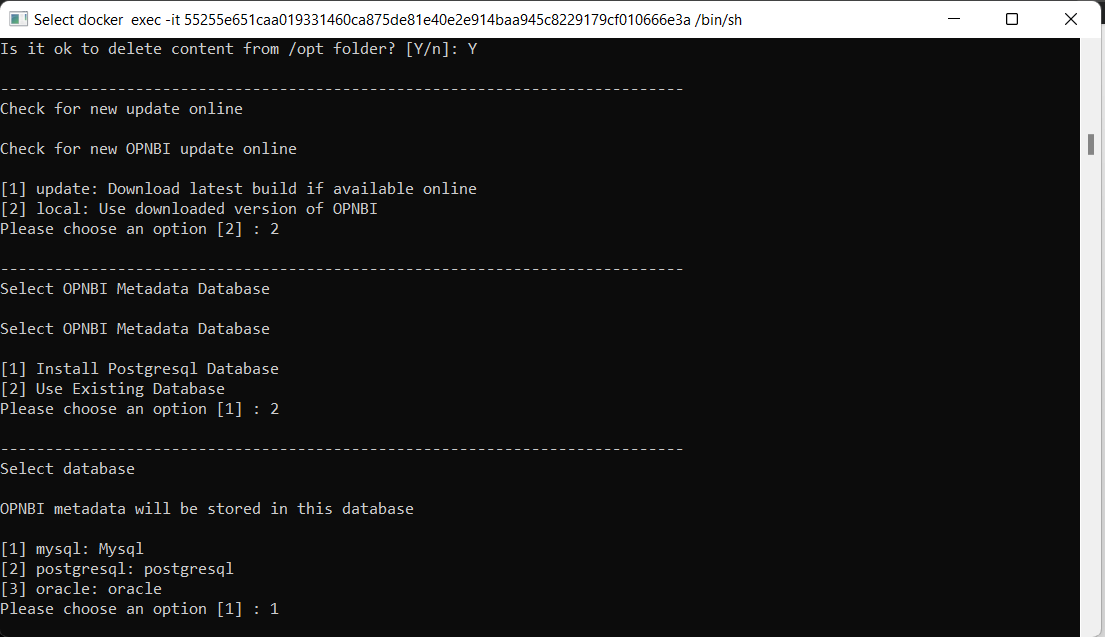
- Based on type of database selected, it will ask you to provide database conenction information.Enter the Port number of database.
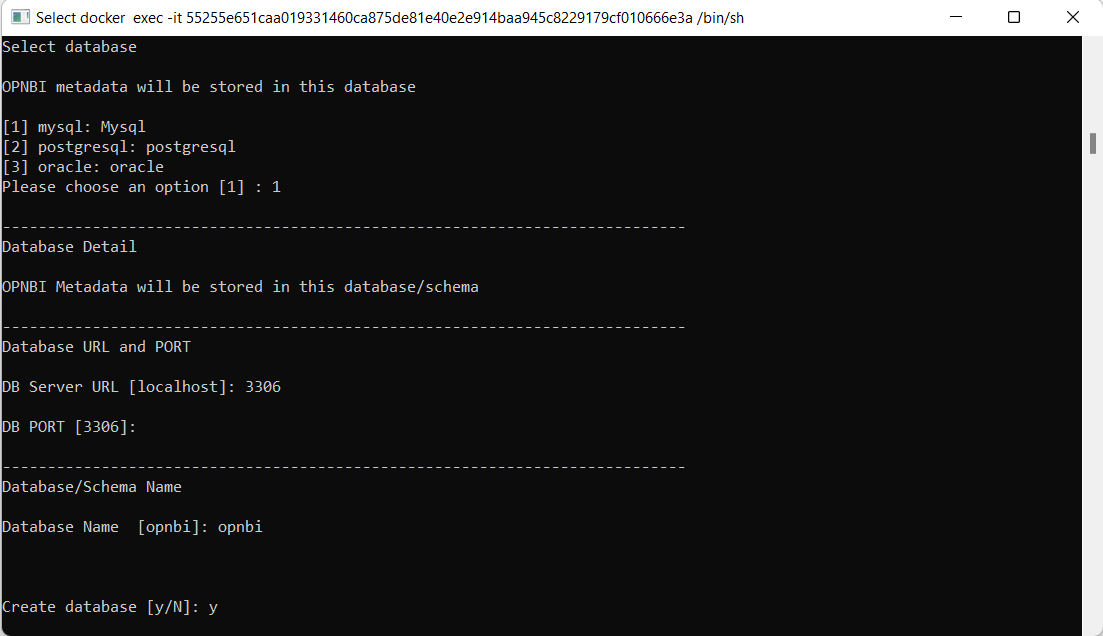
- Here it will ask you to provide database name to store metadata for OPNBI. by default name of database is opnbi but user can provide different name as well.
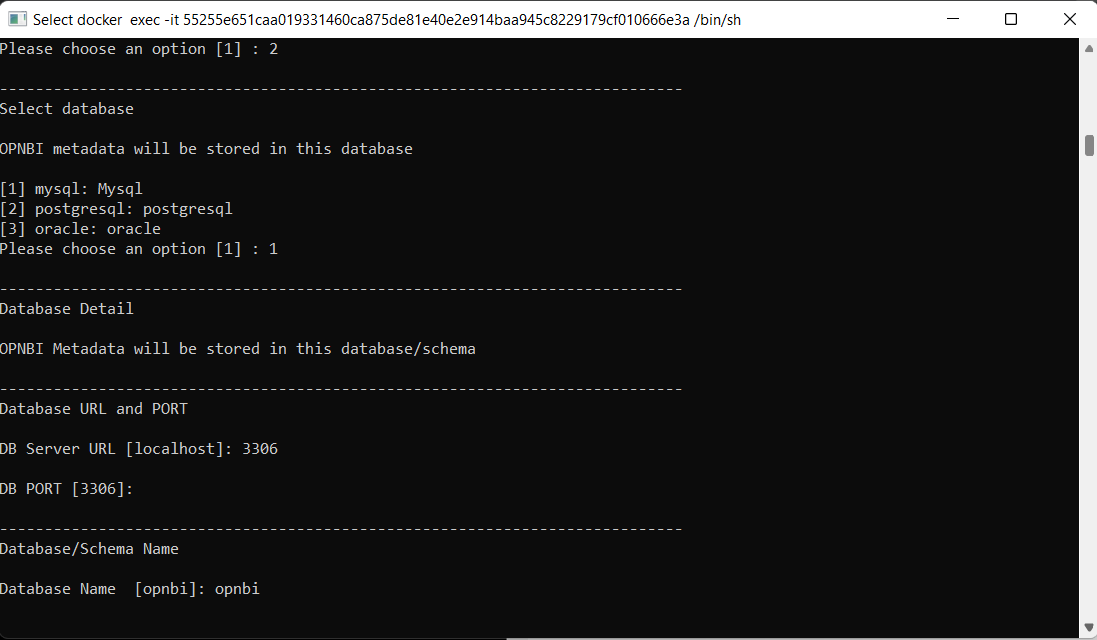
- Next it will ask create database, type Y and hit enter.
info
This option should be selected when the database mentioned in Database Name is not yet created in the database. by providing y to this option, setup will create a new database with the name provided here Database Name and all metadata of OPNBI will be stored there.
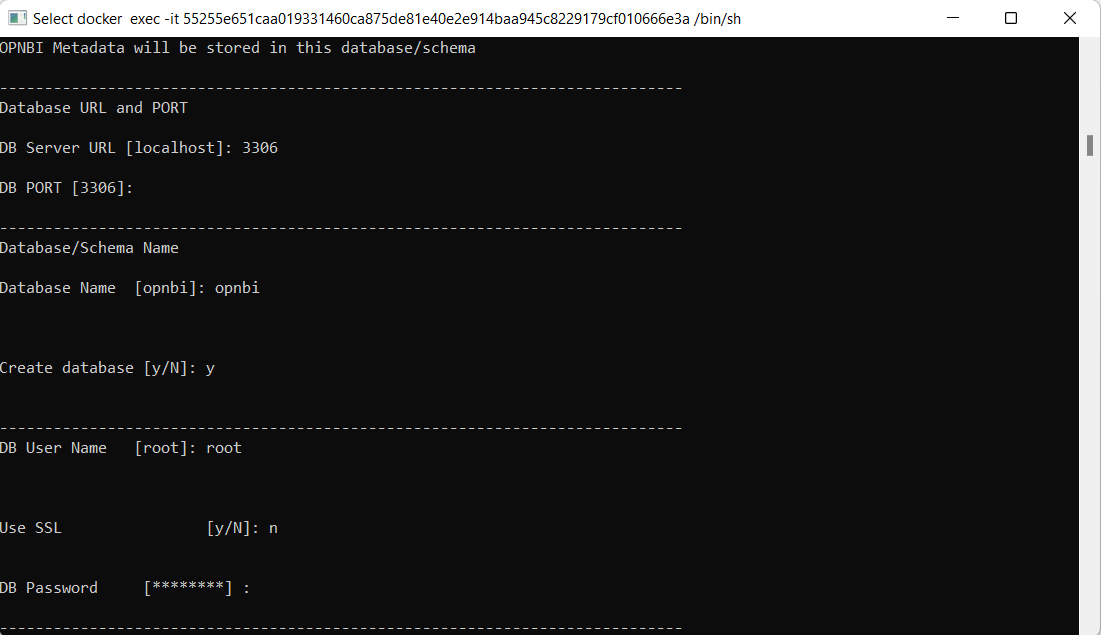
- Give the name of Database.
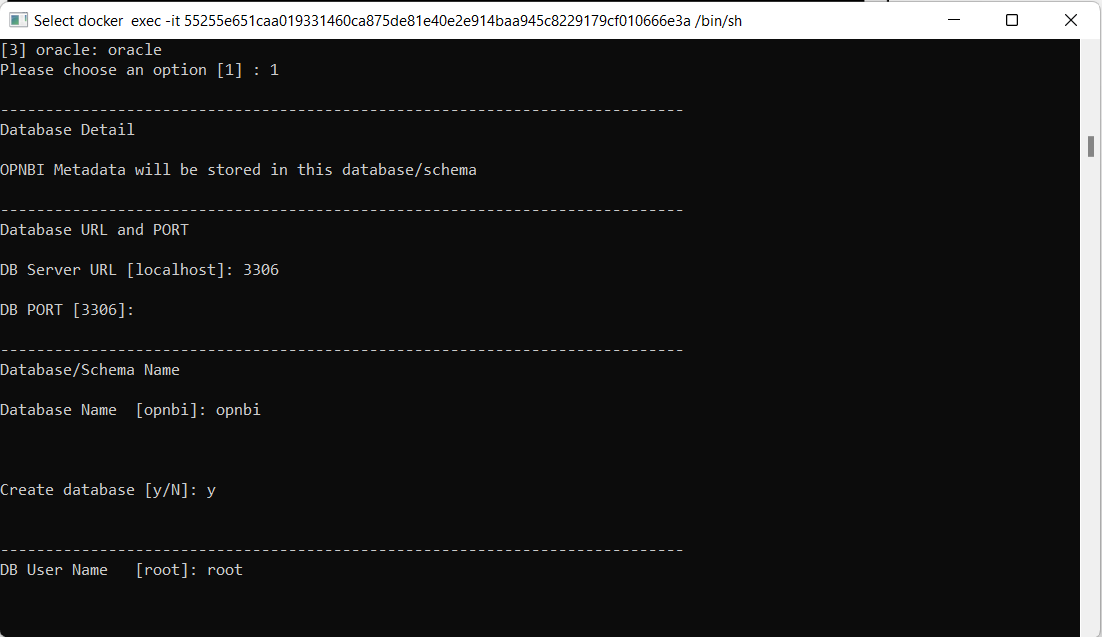
- Next it will ask use SSL, type N and hit enter if database do not have SSL enabled
- Next it will ask you to provide database password to connect with database if you have selected to install with Use Existing Database option.Now, enter the password of database.
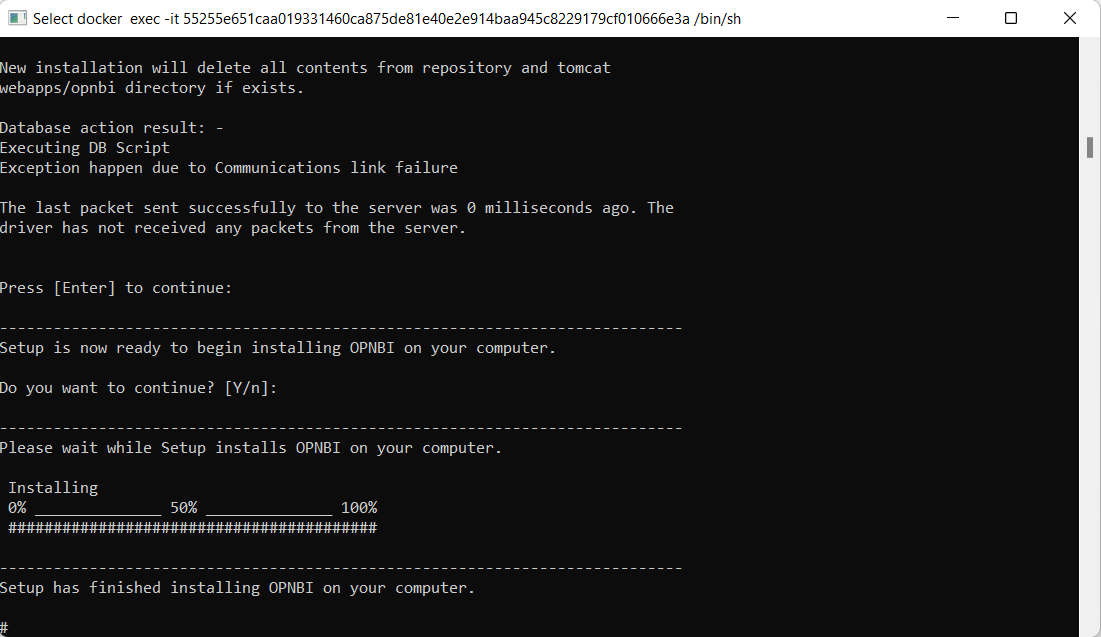
- Installation has started and will finish in some time, When finished, you will see screen like below image
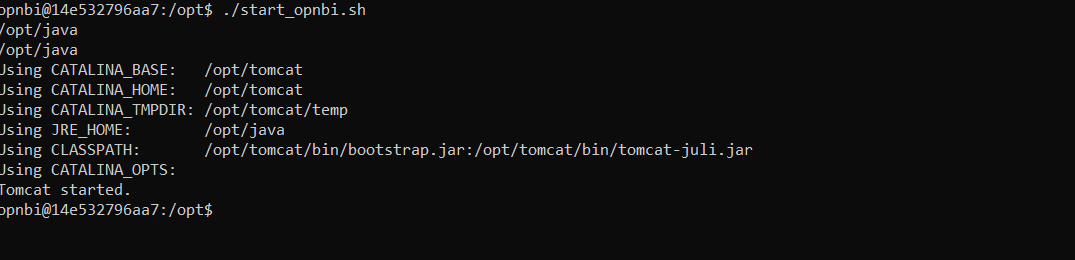
Installation has completed and now we need to run tomcat server. For that change file path to directory where OPNBI is installed. go to (your_directory)/opnbi/tomcat/bin folder
cd /opnbi/tomcat/binand run command startup file by executing command./startup.shto start tomcat server.Once tomact started you will see logs as shown in below screen,
- Tomcat will take some time to start successfully. To check if it started or not navigate to tomcat logs folder (your_directory)/opnbi/tomcat/logs and execute this command
cat catalina.outand it will show tomcat starting logs. keep checking this logs till you see server startup logs as shown in below image;
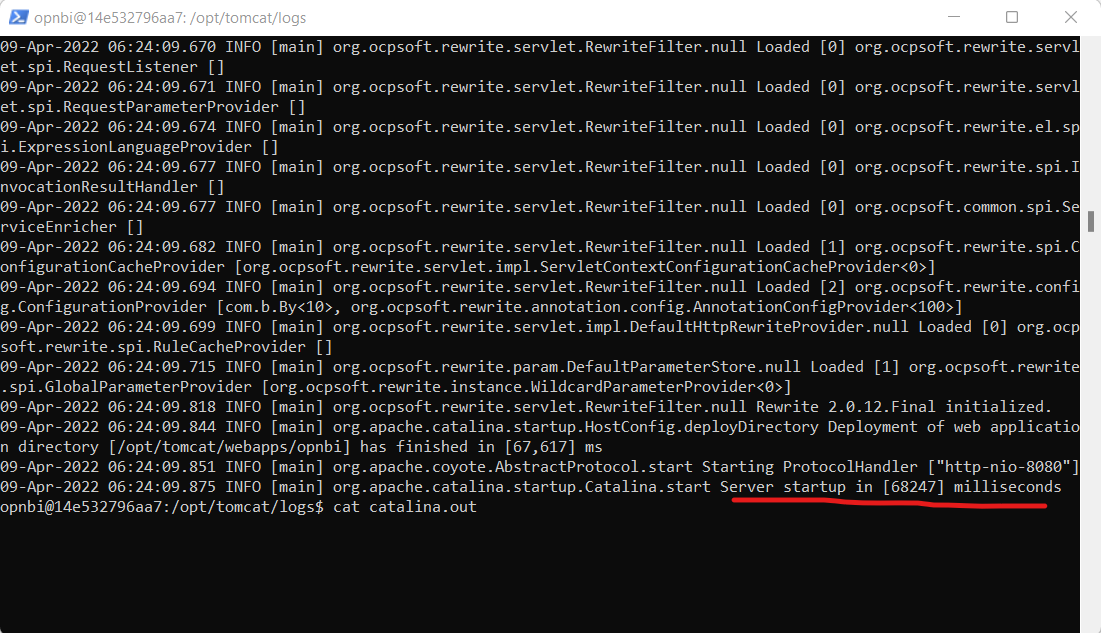
Also you can find port number on which this tomcat is running just above this success message like ["http-nio-8080"]
- Go to browser and enter URL
http://localhost:8080/opnbi. incase you tomcat running on different port number, make changes in browser URL accordingly.