Upgrade OPNBI in Windows
This documentation contains the steps to upgrade existing OPNBI in the windows system.
Objective
Objective of this document is to guide the user in the upgrade process of OPNBI on a Windows machine.
Steps to Upgrade OPNBI in Windos
Note
Click here to know how to install OPNBI in window.
warning
Before upgrading OPNBI, it is recommended to take backup of repository and front end code first.
To take backup of repository, go to (your directory)/OPNBI/ and you will see repository folder. copy this whole folder and paste it in safe backup drive.
To take backup of front end code, go to (your directory)/OPNBI/tomcat/webapps/ and you will see opnbi folder. copy this whole folder and paste it in safe backup drive.
Stop tomcat server first before running OPNBI setup file. Go into the directory where OPNBI is installed. you will see start_db.bat, start_opnbi.bat, stop_db.bat, stop_opnbi.bat files. Double click on stop_opnbi.bat to stop tomcat server. once tomcat is stopped, double click on stop_db.bat to stop postgreSQL server if you have installed with posegreSQL database.
warning
in case you have installed with different database other than PostgreSQL, stop_db.bat file will not be available.
Download & Extract OPNBI Installer in respective drive.
Locate and double-click the .exe file. (It will usually be in your Downloads folder or in your respective drive.)
Dialog box will ask user for User Account Control. Click on Yes button.
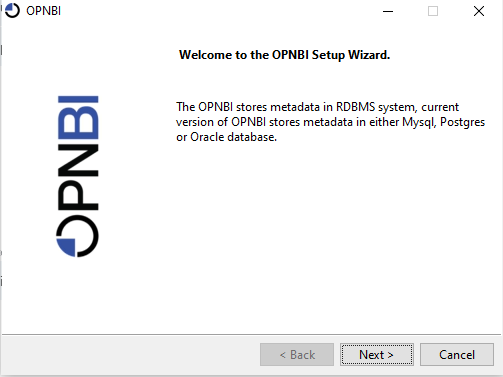
A dialog box will appear & Follow the instructions to install the software. Click on Next button.
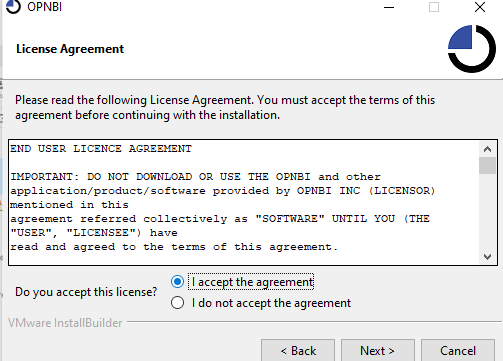
Accept the aggrement & Click on Next button.
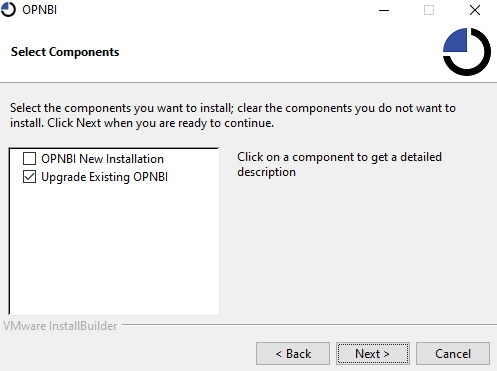
You can see 2 options here and by default Upgrade Existing OPNBI checkbox is selected. keep it as it is & click on Next button.
Provide path of opnbi directory where user installed OPNBI earlier.
info
User need to select OPNBI folder where it is installed. jst up tp OPNBI folder not inside of it. Also if you have renamed your tomcat folder with any version or port number or anything other than only tomcat then it is recommended to rename tomcat folder and keep it only tomcat otherwise upgrade setup not able to locate tomcat folder and it will create new tomcat folder inside OPNBI folder.
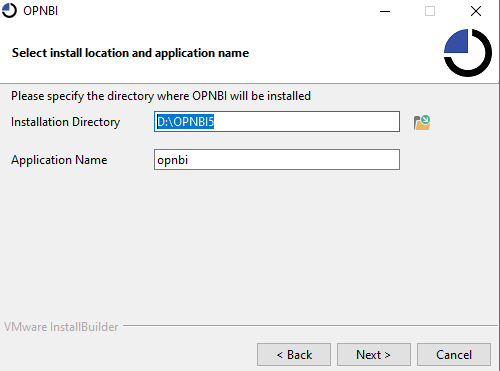
Click on Next button & Extracting Installation Files will take place.
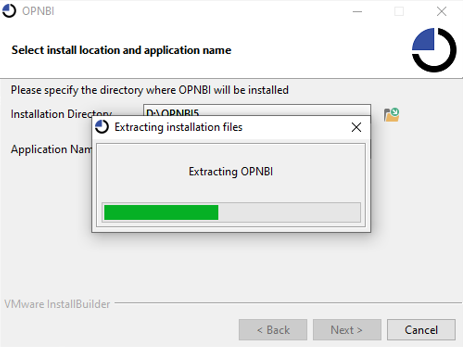
One dialog box will open & ask user to select update option. Clik on local radio box & Next button respectively.
info
If the user selects update option setup will check if any newer version is available on the server or not. If yes, It will fetch a new build from the server and then install OPNBI with an updated build.
If the user select local option, setup will use files available with setup to install OPNBI.
Select the preferred option & click on the Next button
As user click on Next button info dialog box will open asking for Abort Installation as shown:
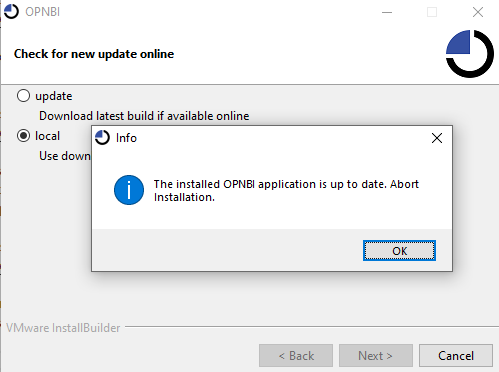
As user clicks on OK button. One dialog box will open as shown:
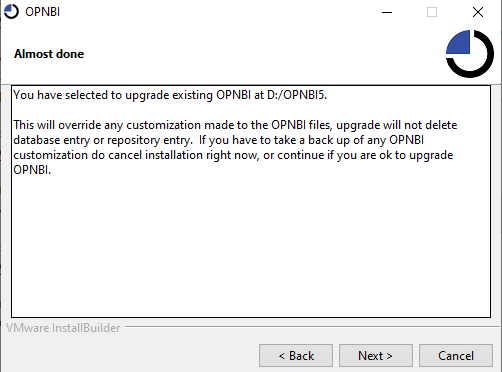
Click on Next button &
Ready to Installdialog box will appeaar as shown:Click on Next button & Installation of Uppgraded files will take place.
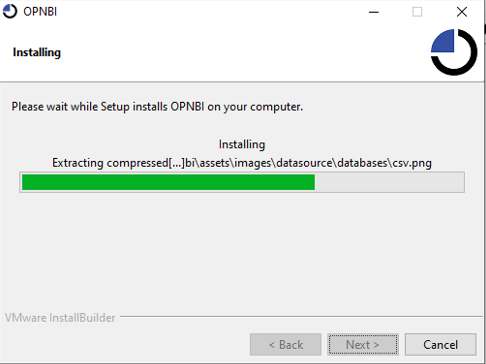
Upgradation will finish in some time. When finished, you will see screen like below image
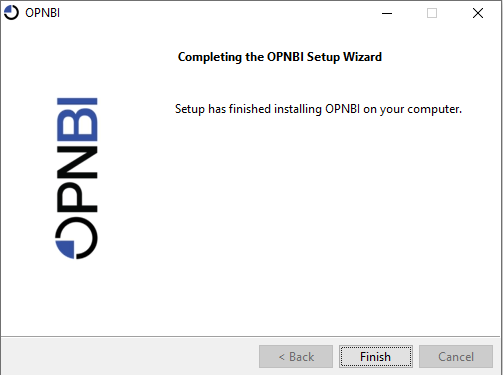
Click on Finish button.
Your OPNBI is upgraded & ready to use.
start OPNBI server. Go into the directory where OPNBI is installed. you will see start_db.bat, start_opnbi.bat, stop_db.bat, stop_opnbi.bat files. Click on start_db to Start PostgreSQL if OPNBI is installed with PostgreSQL. In case OPNBI is installed with MySQL you will not find start_db.bat file. To start the application server double click and run start_opnbi.bat and wait for about 2 min till the tomcat server starts.