Connecting With Oracle Database
Connection Steps
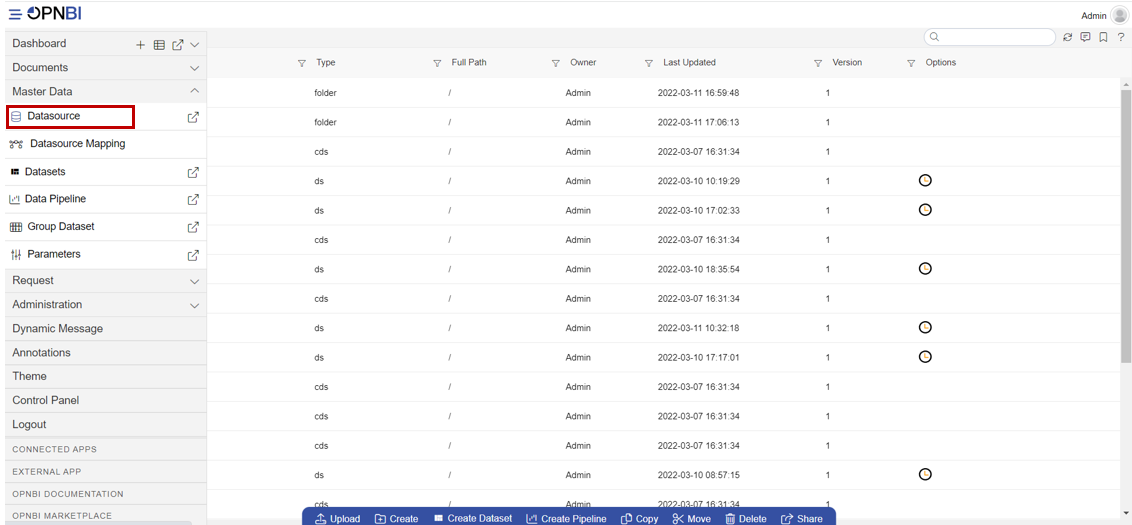
Go to the Master data section and click on Data Source, as shown in the figure below:
Click on Create button from the bottom horizontal menu bar from Datasource section, as shown in the figure below:

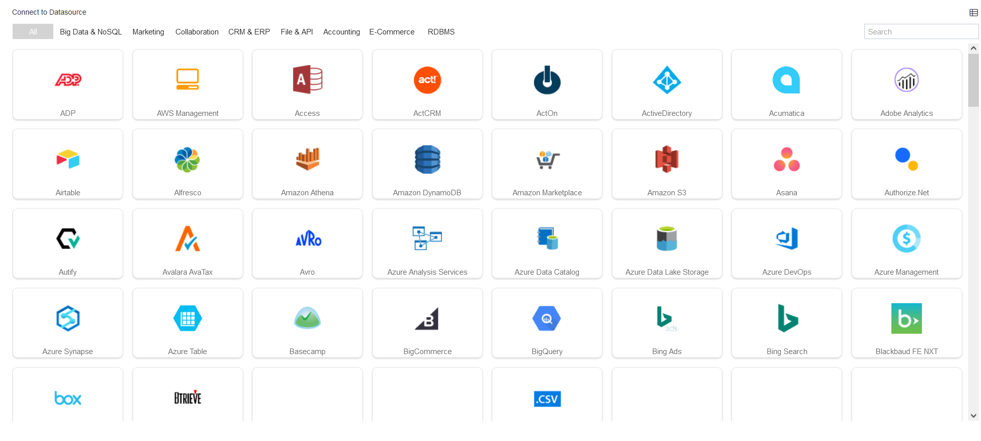
The Create Datasource window will open, as shown in the figure below:
Search for oracle data source from Top-right search bar in Datasource section, as shown in the figure below:
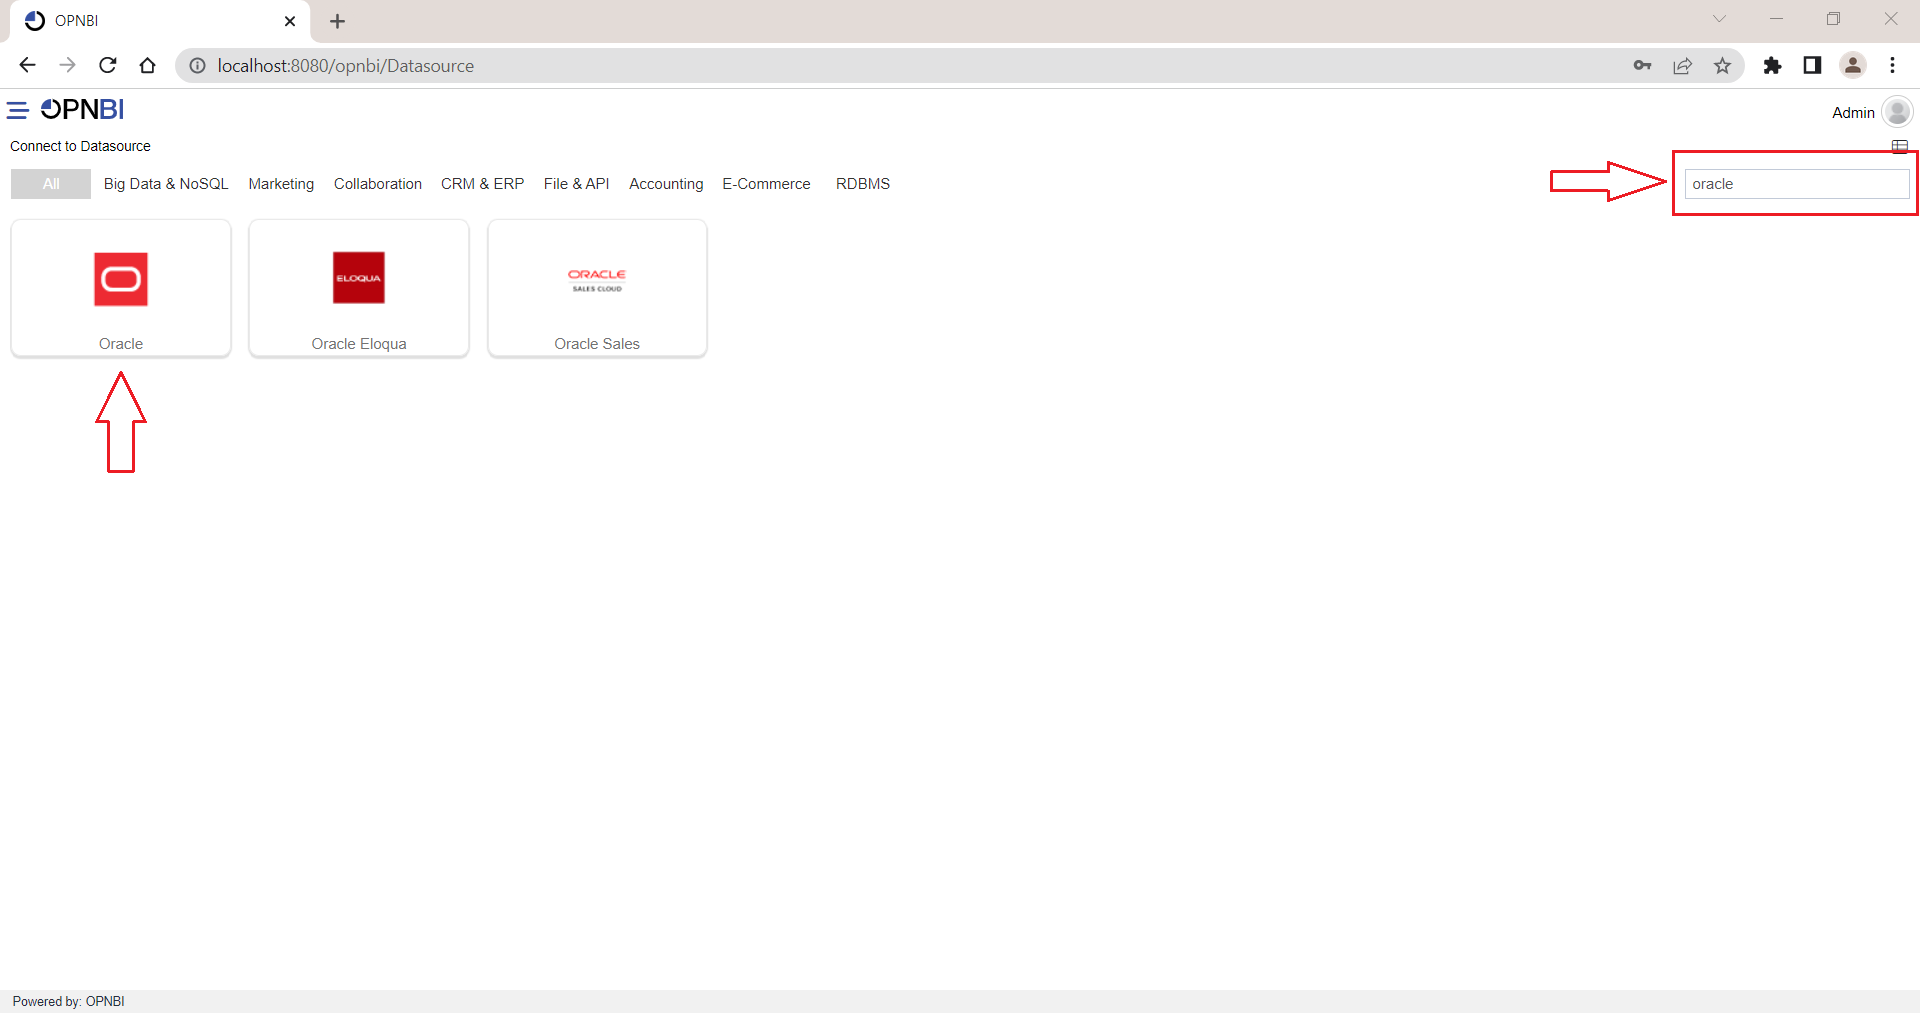
Click on oracle to create a data source using oracle.
As you click on oracle, the create dialog box will pop-up on screen, as shown in the figure below:
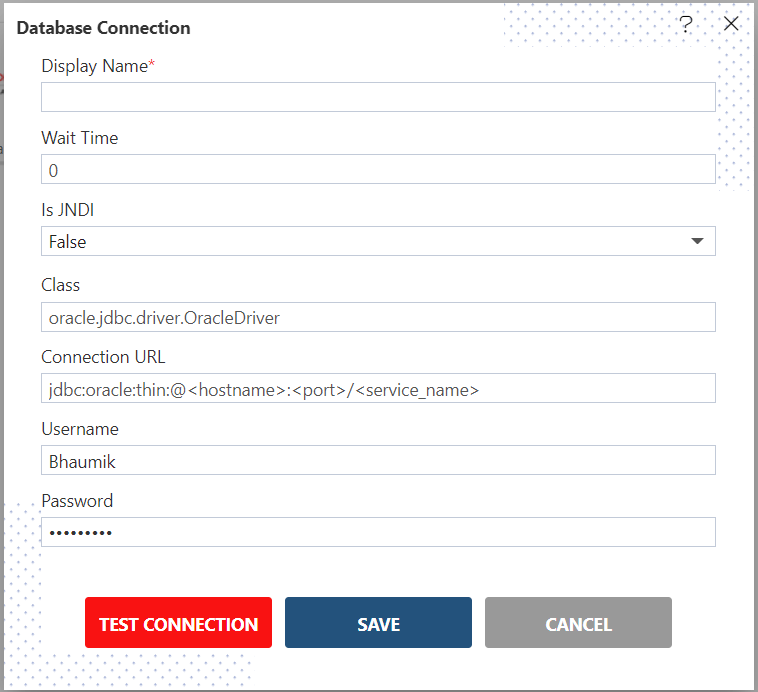
- Insert the following data in the Datasource connection Dialog box:-
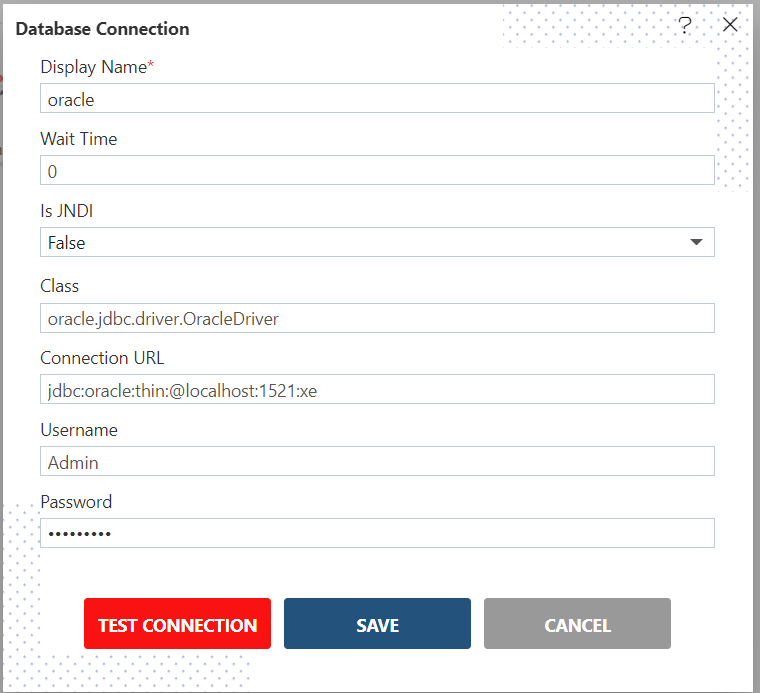
Display Name: oracle [You can add name as per your requirements]
Class: oracle.jdbc.driver.OracleDriver
Connection URL: jdbc:oracle:thin:@localhost:1521:xe
Username: Admin [Insert your username]
Password: [Enter your respective oracle database password]
Verify added info, as shown in the figure below:
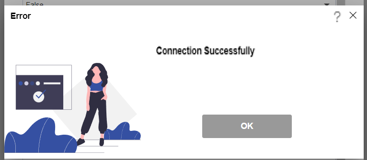
Click on Test Connection Button to Check Database Connection, after Connection Successful, it should look like the following figure:
Click on the ok and save button to close the Dialog box, The Created Successfully alert will pop-up on screen.

Now create a dataset after connecting the Datasource, click the link below: