Create a new dashboard
This doucument contains information on how to create a new dashboard in opnbi application.
info
User can only create or edit dashboard if he has full access of dashboard section or he has admin rights. User with read only rights of dashboard section can not create new dashboard or edit a dashboard.
Objective
Objective of this document is to guide user through steps to create a new Dashboard in opnbi.
Skill Level Required
No prior knowladge of BI tool is required.
Create Dashboard: This video contains how to Create New Dashboard in OPNBI.
Steps to Create a New Dashboard
Follow below steps to create a new dashboard,
Login to OPNBI using your credentials.
User will be landed to their respective landing page.
Click on hamburger Menu
 and you will see Dashboard Section as shown in below image,
Click on + icon & one dialog box will open as shown below:

Provide the dashboard name as required. For this example; we will give name Test Dashboard
info
Create button will not be enabled till user provide a name of the dashboard.
warning
Make sure there is no special characters and slash (/) in the dashboard name provided. special characters and slash will break execution of dashboard with embed link.
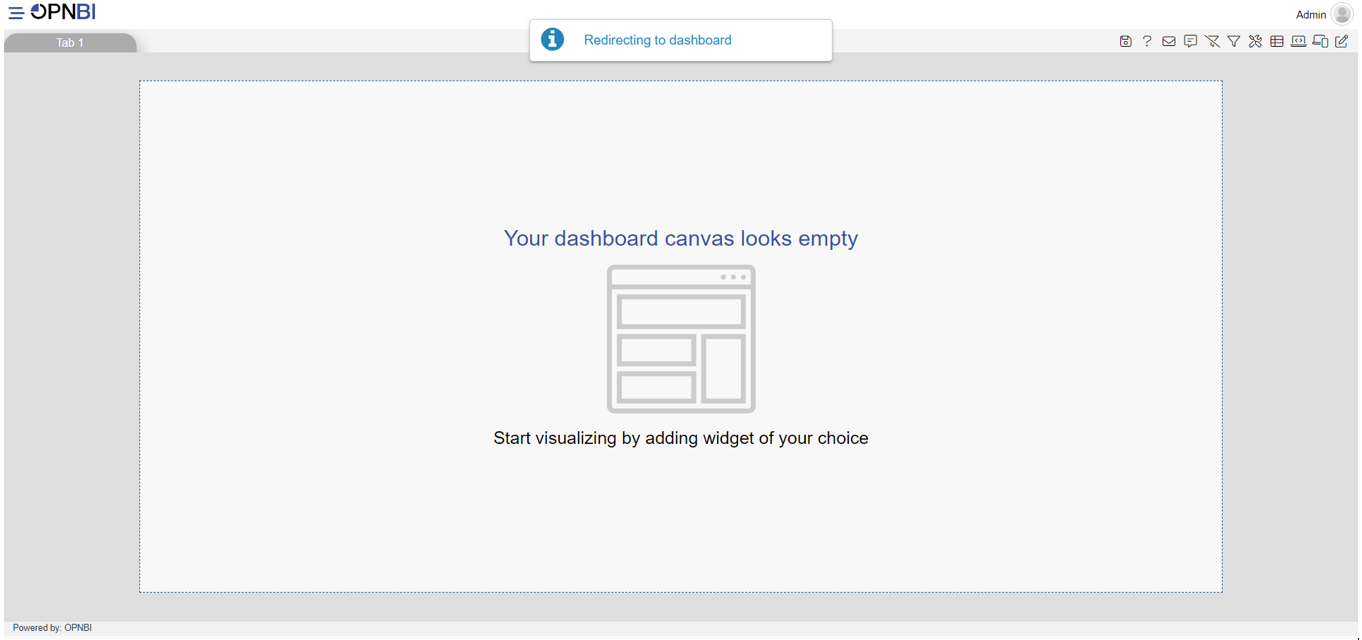
Click on Create button & your Dashboard will be created.
One pop-up will be displayed showing Dashboard Created Successfully & it will redirect you to the newly created dashboard as shown below:
In the other way you can create new dashboard from dashboard grid view. click on hembergermenu and you will see list view icon on right side of dashboard section. you can refer image of the step No 3, list view is highlighted in this image
Click on list view and you will redirected on list or grid view where all created dashboards are displayed.
To create a new dashboard, click on create dashboard button given in the footer menu and it will open create dashboard window. Next perform the steps from Step 5.
- Click here to learn how to Add Widgets into Dashboard.