Notebook
- OPNBI Notebook is a dashboard widget, which provides flexibility to view notebook model file inside the dashboard.
Objective
- TO create a Notebook in OPNBI
Prerequisites
- For this example; we are using Model file (ipynb).
Download dashboard.zip file from link given Click Here...
- After downloading the zip file, open Notebook folder inside it & upload kNN-2-Predict iris flower type into Dashboard Section of the OPNBI. To add it into OPNBI follow this Click Here.
Notebook: This video contains how to create an OPNBI Notebook.
danger
- User should have a Notebook Model file (ipynb) before using this Notebook Widget.
Steps to Create a Notebook
Click on the hamburger icon
.
Create dashboard box will be shown on the screen. Users can create a dashboard by clicking on the + icon.
Users can set the dashboard name as per their requirements. Click on create button after entering the dashboard name in the dialog box. As shown in the below image.

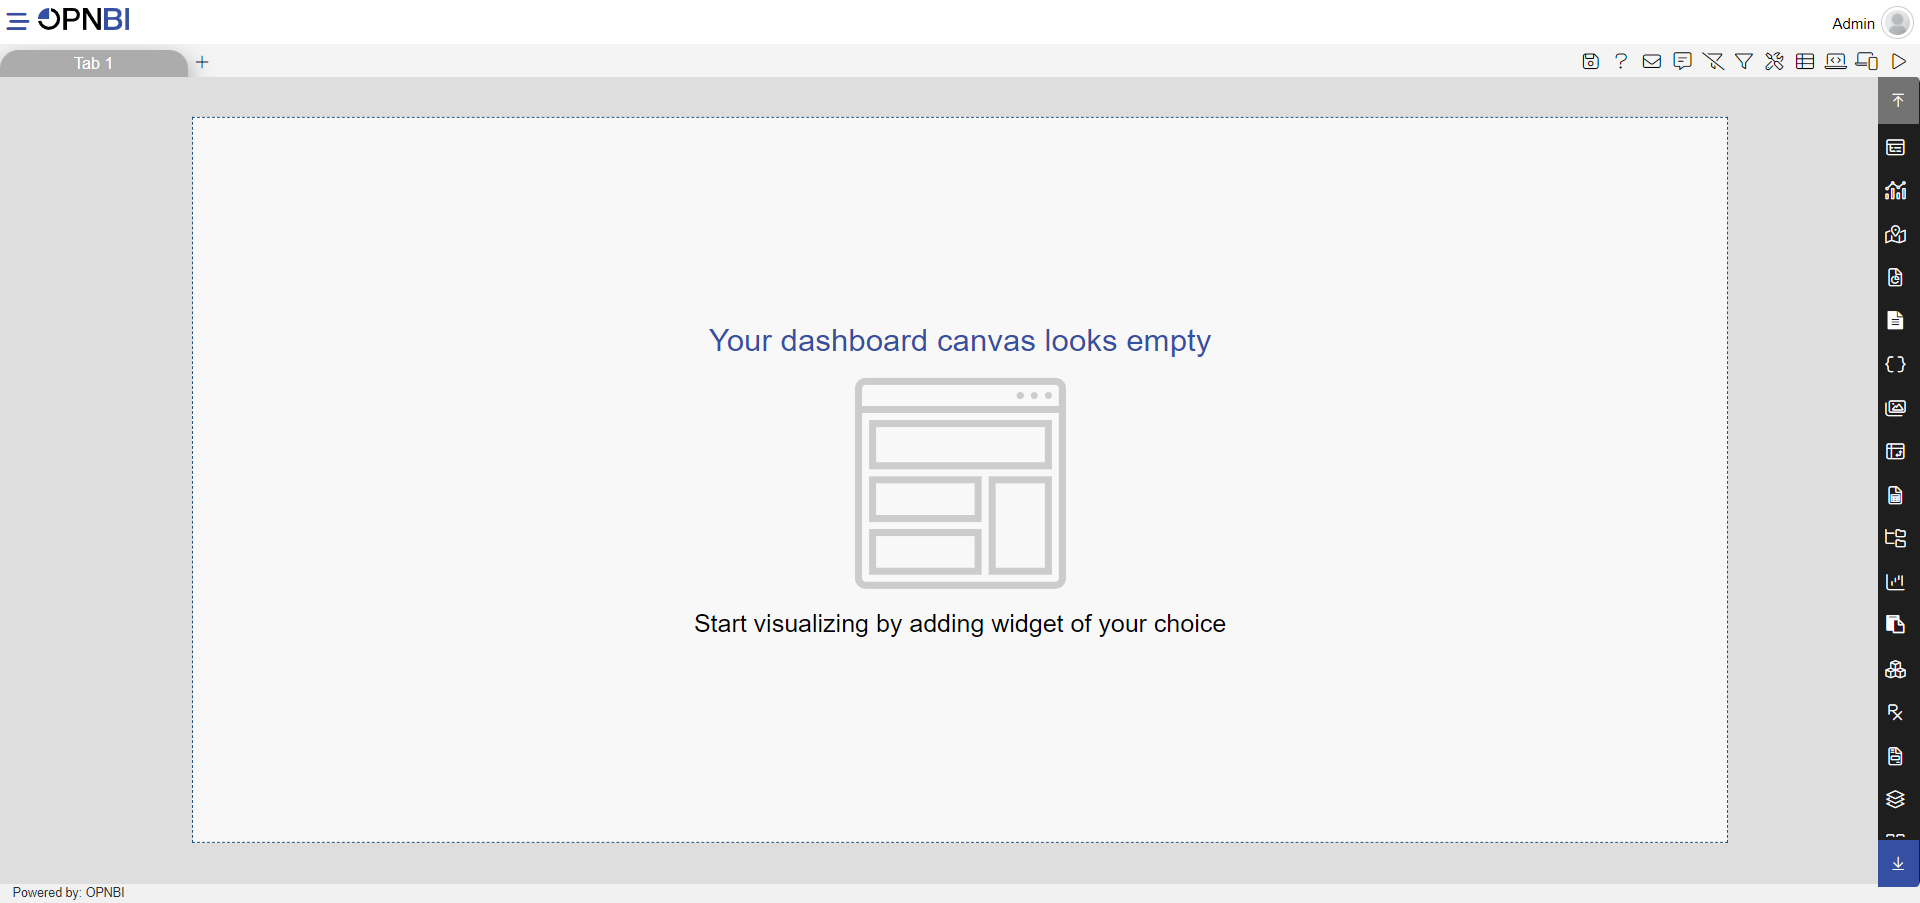
Users will see an empty Dashboard, as shown in the image below:
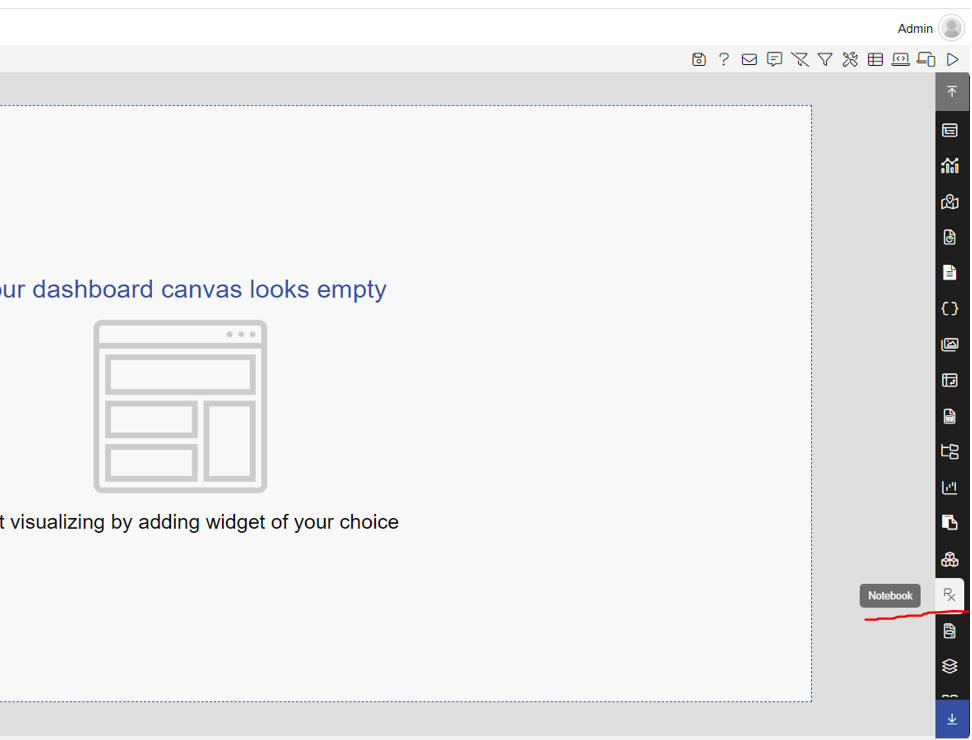
From the right vertical menu select the Notebook widget icon, as shown in the image below:
When the user selects Notebook, the edit window will appear And the widget gets added in the content place.
Name the widget NoteBook 1.
Select the ipynb file of your choice from the edit menu of the widget:
- Predictive Model: kNN-2-Predict iris flower type (ipynb file)
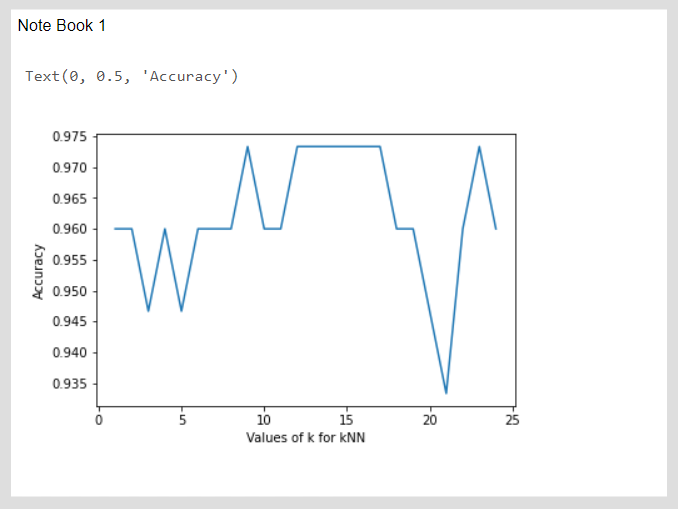
- Cell: Execution Code 101 (select from dropdown)
Note
- Cell contains code snippets. If you are familiar with Jupyter notebook, cell is used to write and execute small piece of code and shows output just below of it. If a user wants to see the cell code which is executed, then they have to uncheck the Input Hide box.
Click on Save and Exit button, the widget will look as per the image below:
When you uncheck the box Input Hide the widget will look as per the image below:
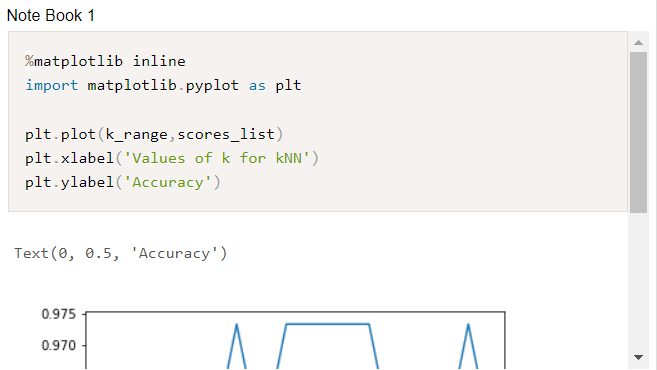
Users can scroll the bar to see the output.
Check the Input Hide box again.
Click on Save and Exit button & Adjust the widget in the content area as required.
Click on the Save icon from the top right corner of the dashboard.

Click on preview from the top right corner of the widget as shown in the image above & your widget will look as per the image below:
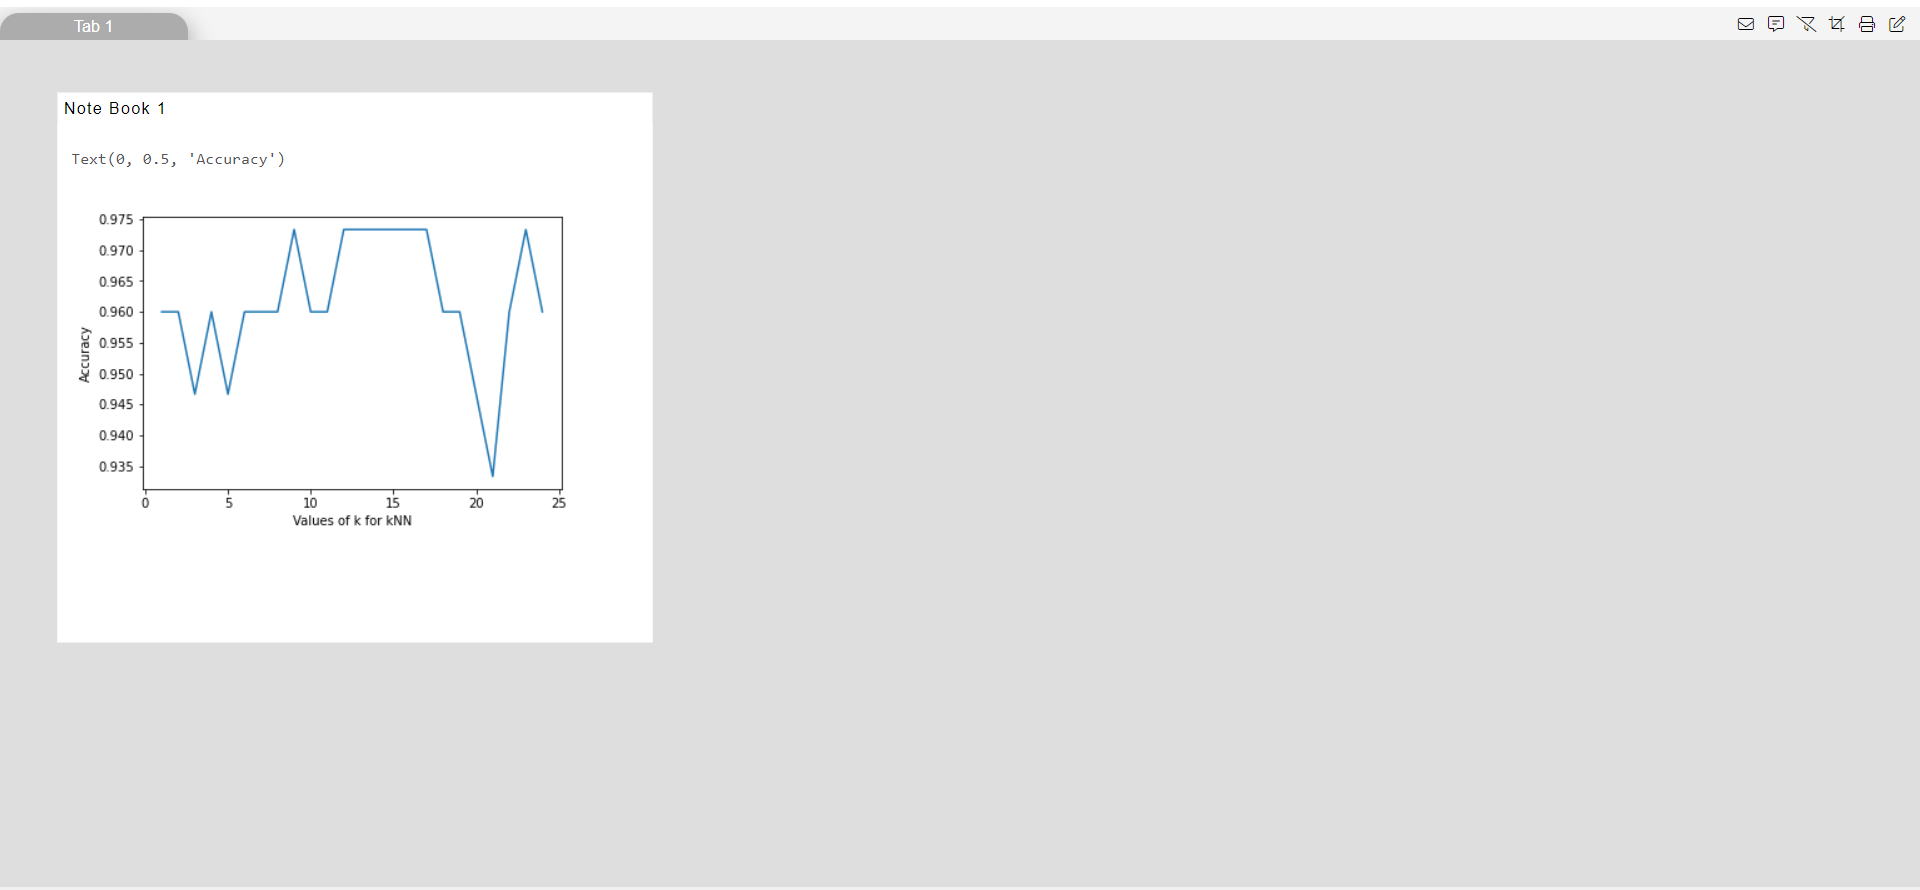
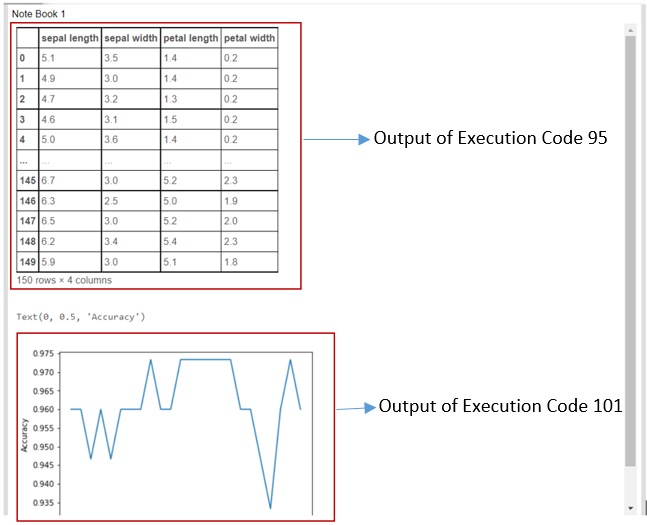
User can also select more than one execution code from the cell option.
For example, when two execution code is selected then the output will look as per the image below: (Execution Code 101 & Execution Code 95 is selected)
