Approvals
Approvals: This video contains how to use approvals in OPNBI.
Approval Notifications shows the pending notifications shared with you to approve or reject.
This type of Notification comes into effect when an approval is required to schedule certain reports, merge reports, or alert reports.
The Approval Notification work along with Request section of the Notifications in order to get approval for scheduling a specific document.
Detail explanation for approval notification go through below steps:
Click on
 to see a list of all the requests that need in Approval.
The following screen will appear:-
to see a list of all the requests that need in Approval.
The following screen will appear:-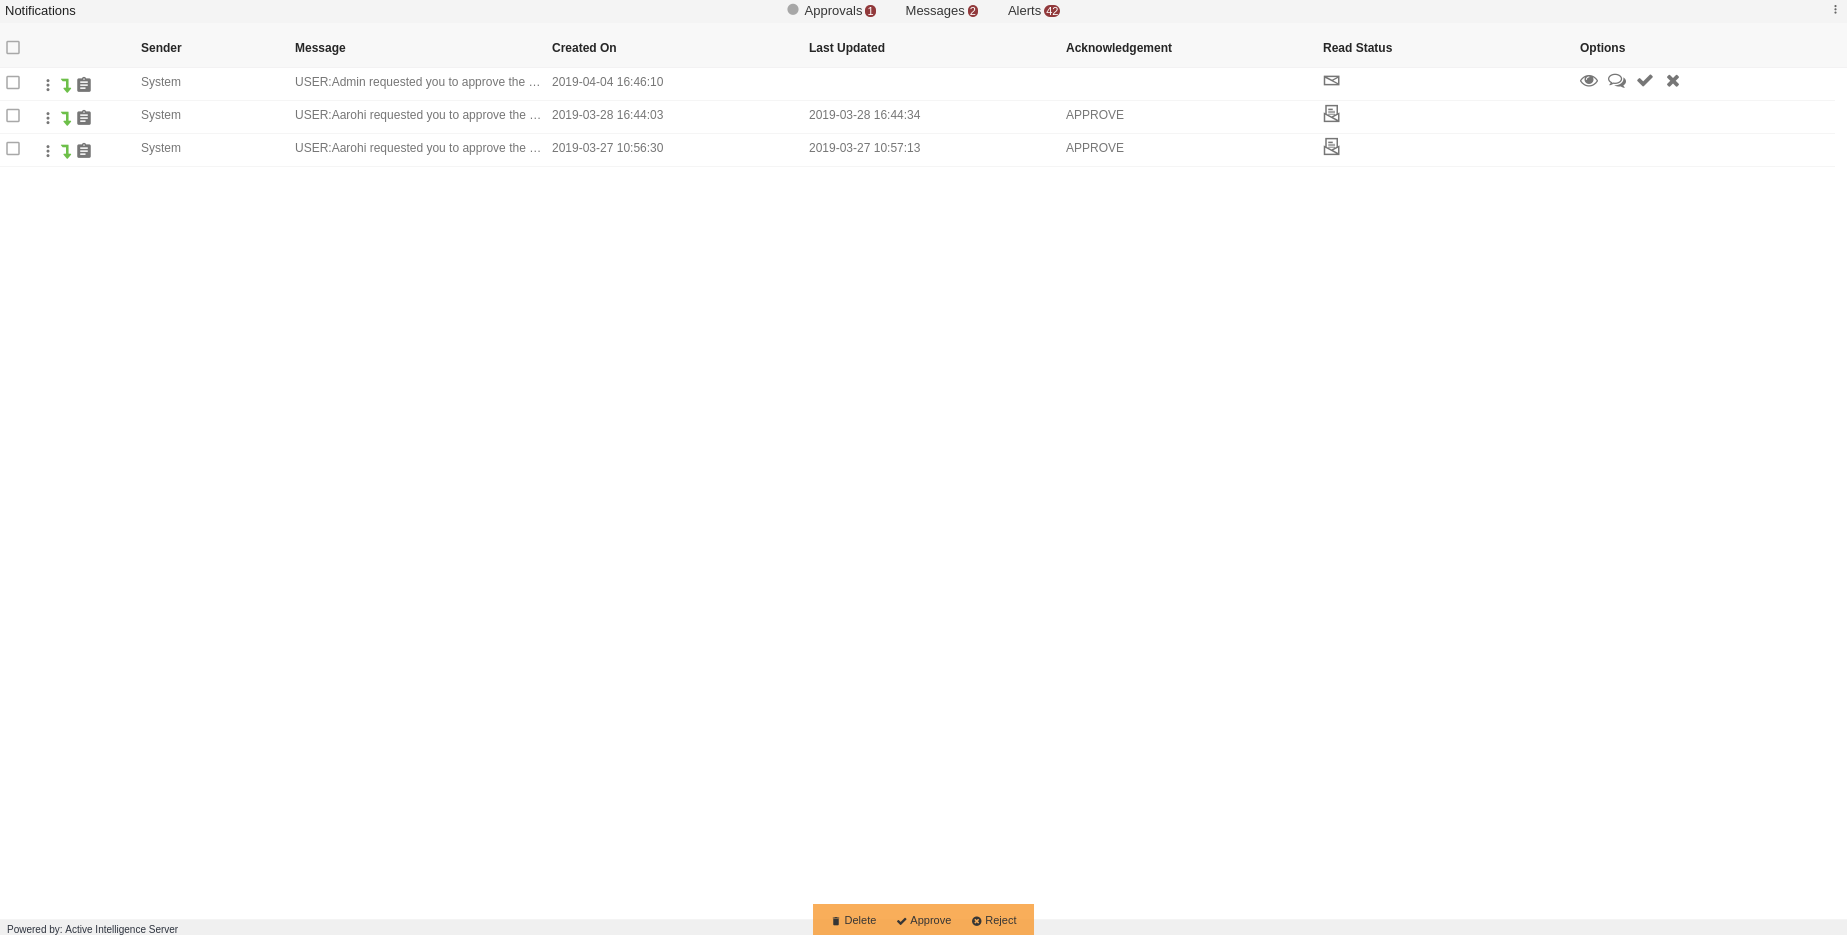
Schedule a Report
In order to understand how approvals work, we will schedule a report which will ask for approval of the Admin user. We will be using Employees.rptdesign in the report section for the purpose of understanding. Double click on the report which will open the following dialog box:-

info
Approval feature will only work with Schedule type Once and Recurring
To schedule report in Once, click here -->
To schedule report in Recurring, click here -->
Go to the schedule tab as shown in the figure above. By default, Schedule Type will be Time else select schedule type time from the drop down menu.
Choose Once in the Frequency.
If you want you report to be approved before sending to other users, then check Approval Require. Send Reminder specifies how many reminder should be sent.
After days specifies after how many days should the Reminder be sent again.
Approved by specifies the user name, which is Admin in our case.
Hence this report will run only after it has been approved by the Admin user.
Now Request for this report will be shown to the Admin user in the Approvals section of Notifications.
Approve Report
In order to approve the report, login with the credentials of Admin user and go to the Notifications section.
You can approve the request by selecting the approval request and clicking on
 or by selecting
  from the bottommost toolbar.
Following dialog box will be shown as a result of these actions.
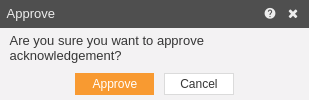
Click on
 button to approve the request.
In case of any further help, the user can click on the
 icon to access the OPNBI help documents.
If the user is not satisfied and wants to cancel the upload request, he can do this by clicking on the cancel button next to upload or by clicking on
 button next to the icon.
Reject Report
In the similar manner, if Admin wants to reject the request he can click on
 or by select
  from the bottommost toolbar which will open following dialog box:-.
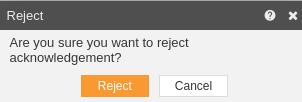
Click on
 to reject the request.
Preview Request
- Click on
 to view the request.
Send Message
Click on
 to send messages to request users which will open a dialog box as follows:-
You can also format your messages, add links, function to your message from the comment box.
Delete Request
Finally, if you want to delete a request, select it and click on
 icon.
icon.In this manner, you can approve requests of other users in the OPNBI application.